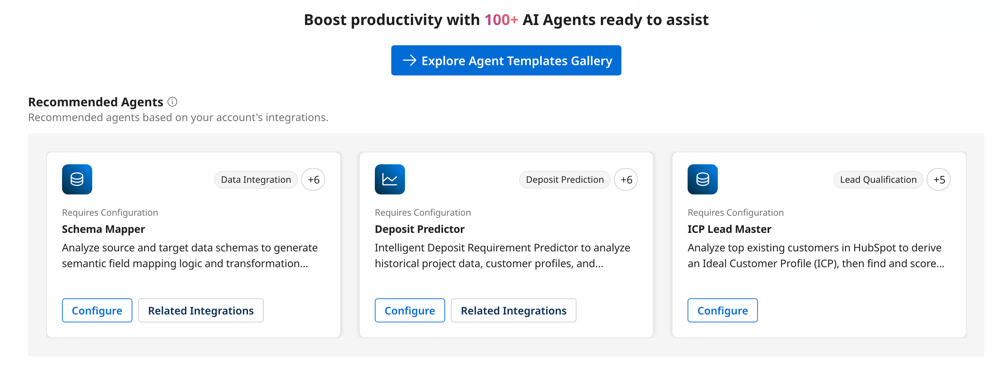
Installing recommended agents
The Agent Garden templates gallery displays recommended agent templates to help you discover AI agents that can enhance your existing business processes. Use these recommendations as a starting point for building agentic workflows with Agent step. Insert an Agent step into a process to leverage agent reasoning and tools, such as API calls or data queries.
You can also interact with recommended agents directly in the Agent Garden conversational user interface. Refer to Building an agent from a template and Installing Marketplace agents to learn more about Agent Garden templates.
How are agent recommendations generated?
Agentstudio generates agent recommendations based on deidentified metadata from your account’s processes, process components, and industry vertical. Refer to Data Collection for more information on how we collect data on the Boomi Platform.
Why build agentic workflows with Agent step?
The Agent step makes integrations smarter and efficient by embedding AI into automation, helping you streamline and enhance processes. It can:
- Replace complex process steps and unlock smarter orchestration with human-like reasoning and flexible, context-aware operations.
- Automate manual steps outside of the process's execution.
Apply the Agent step when a process includes a non-deterministic decision that requires contextual reasoning. For example, a CRM connector can send customer feedback survey data to an AI agent in an Agent step. The agent analyzes the feedback sentiment and determines it is negative. It generates a Jira ticket for the customer support manager. Refer to About AI agents and Agent step to learn more.
Use Structured agent mode to get structured, JSON-formatted outputs from agents. Structured outputs are ideal for agentic workflows with Agent step. Refer to Using Structured agent mode to learn more.
Example of adding Agent step
Agent step can often reduce steps in your process.
Process before Agent step:
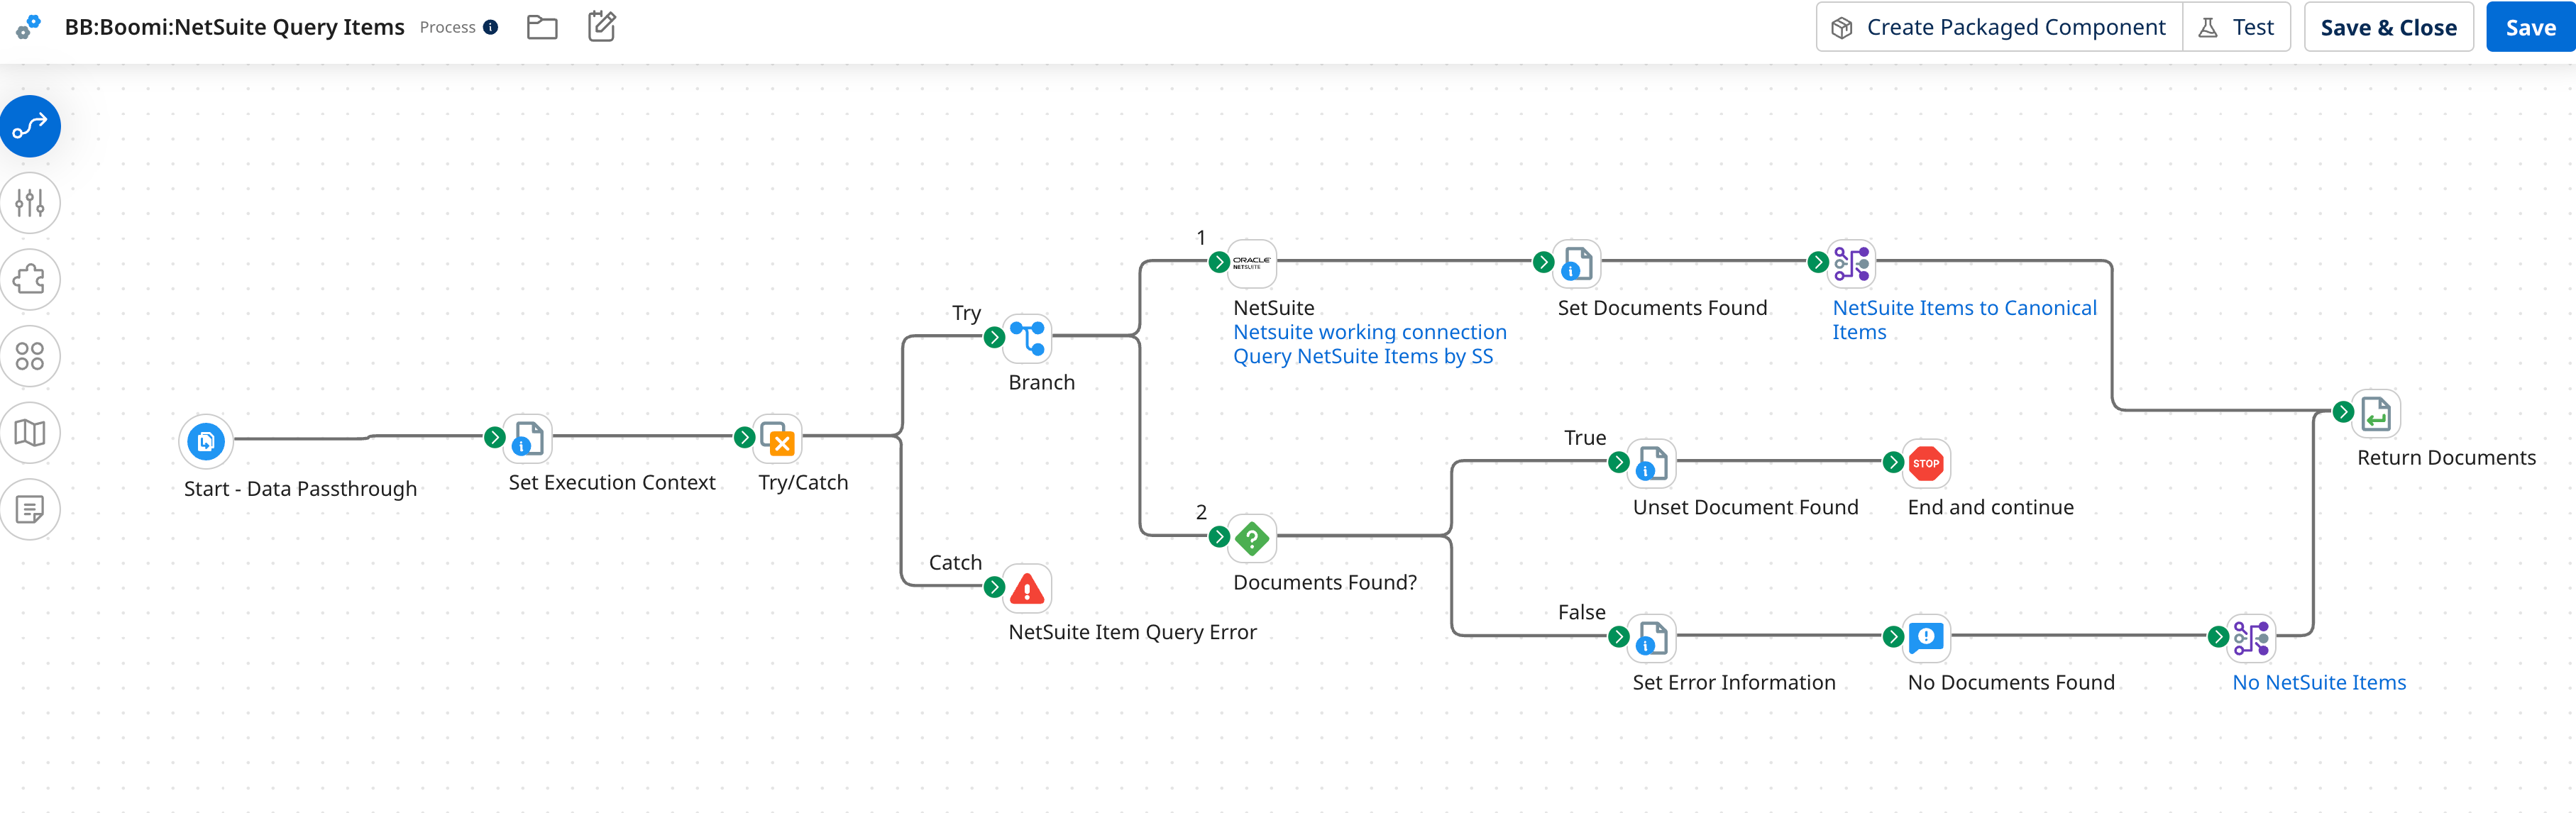
Process after Agent step:

Prerequisites
To view agent recommendations, you must have the following:
- 5 or more processes in Integration
- Agentstudio privileges:
- Agent Garden Developer. Read Agent Garden for details on adding roles and privileges.
- Integration privileges:
- Build Read and Write access
- Runtime management
- Environment management
- Packaged component deployment
- Execute
- View Results
Read User management for details on setting up privileges.
Important considerations
- Agent recommendations are not supported in the EU Platform.
- Context window limitations: The user prompt, agent goal, tasks, and instructions combined cannot exceed 200K input tokens. Refer to Agentstudio token limits for details.
- The Agent Garden home page displays up to 3 recommended agents at a time. The templates gallery showcases the full collection of agent recommendations, which can include up to 10.
- After you install a recommended agent, that agent disappears from the home page. However, you can review all installed and uninstalled agents from the template gallery.
- Each template supports up to 4 related integrations.
- Agent recommendations appear in production, non-test accounts only.
- Agent recommendations appear if:
- Your account has at least 5 or more processes in Integration.
- You have opted in to data collection.
Process for deploying a recommended agent as an Agent step
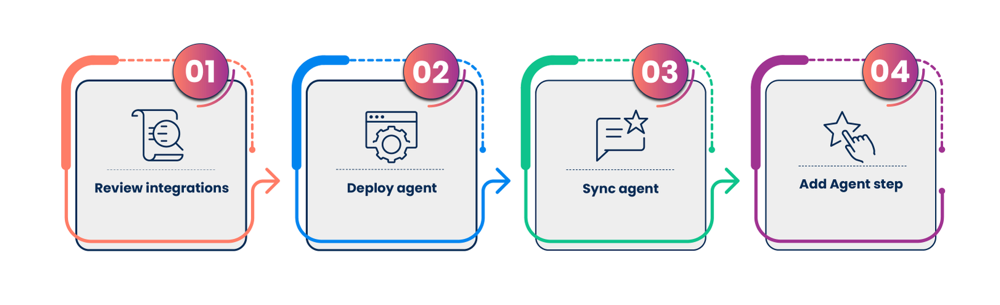
Step 1: Review integrations for Agent step
Each recommended agent tile includes one or more suggested integrations where you can add an Agent step. Review the tile description to understand how the agent adds intelligent automation to your solution.
To explore the suggested integrations:
- Go to the Agent Garden home screen and do one of the following:
- In Recommended Agents locate the agent.
- Select Explore Agent Templates Gallery and filter by Recommended.
- Select Related Integrations on the agent tile. Each agent can have up to 4 related integrations.
- To view integrations, do one of the following:
- Select Open to view to open specific integrations.
- Select Open All to open all suggested integrations.
Step 2: Install and deploy a recommended agent
Although you can use recommended agents in the conversational interface, recommended agents are intended for use in integrations via an Agent step. Follow these steps to install, configure, and deploy a recommended agent.
- Go to the Agent Garden home screen and do one of the following:
- In Recommended Agents locate the agent and select Configure.
- Select Explore Agent Templates Gallery, filter by Recommended, then select Configure.
- On the summary screen, review the agent’s profile, tasks, tools, and guardrails. Select Edit to open the agent builder.
- In Tasks, review tasks with an exclamation point icon indicating tools requiring configuration.
- In tasks with an Action Required label, select Manage Tools.

- Select a tool to open it. The tool opens in Draft status.
- Review the tool settings:
- For Prompt tools, confirm settings and select Save & Continue. Refer to Creating a Prompt tool to learn more.
- For tools that require authentication and URLs, validate system URLs and enter required credentials. For example, replace
<your-api-key>with your API key. Refer to Creating an API tool to learn more.
- Select Review, then Deploy Tool.
- Return to Agents > select the agent > Edit and repeat steps 4 through 7 until all tools are configured and deployed.
- In Review, select Create > Package & Deploy. Choose your target production environment and select Create Package & Deploy. Your package is assigned a version number automatically.
Your agent remains in a draft state until you package and deploy it. You can continue editing it at any time without affecting active deployments. Changes only go live when you create and deploy a new package. For details on managing packages, deploying to multiple environments, and working with regional runtime clouds, refer to Deploying agents.
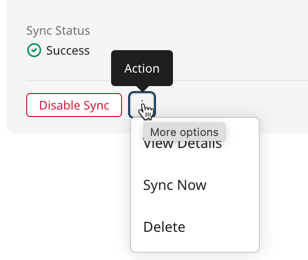
Step 3: Sync agent
Agents must be synced in Control Tower before use in an Agent step. Since syncing is not immediate, you can sync agents manually.
- Go to Agent Control Tower > Manage Providers > Boomi Agent Garden.
- Select the Account link, then select the Action icon > Sync Now. Syncing may take several minutes. A Success status indicates completion.
After syncing, agents deployed to multiple environments appear as separate entries in the Agent step list, one per deployment and runtime cloud combination.
Step 4: Add the Agent step
You can apply an Agent step to a related integration.
- Review the related integrations you opened in Step 1: Review an agent's associated integrations and identify the integration to which you want to apply the Agent step. To open a suggested integration:
- Go to Agent Garden home screen > Explore Agent Templates Gallery.
- Use the All drop-down to filter by Recommended.
- In the agent tile, select Related Integrations and open the integration.
- In Integration's Build canvas, select the plus icon to open the steps palette.
- Search for Agent and add the Agent step.
- Select Configure. Deployed agents synced in Agent Control Tower appear.
- Select the agent you deployed in Step 2: Install and deploying a recommended agent. If the agent is deployed to multiple environments, it appears as a separate entry for each deployment and runtime cloud combination. Select the entry for the environment and region you want to use.
- Select Generate Configuration.
- Select the Authentication tab and select Click to Set.
- Paste the API token, select Apply and save your process.
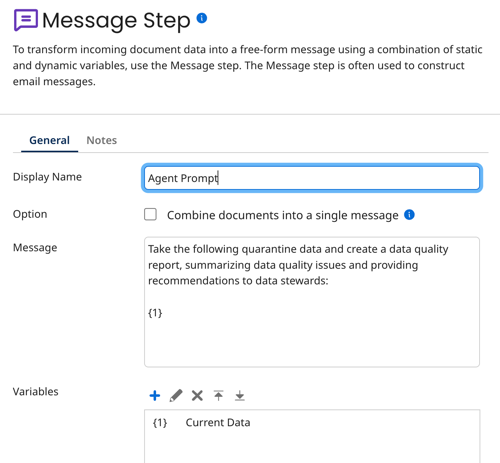
Refer to Agent step for additional details, such as adding a Message step for agent prompting, a Data Process step to clean up the agent response, and using Structured agent mode. Refer to Creating a Data Quality Report agent for a step-by-step tutorial on building a process using the Agent step.
A process using Agent step often needs a Message step before it to prompt the agent. Typically this step includes a conversation starter from the agent's profile. Depending on your process flow, you can also pass in data from the previous step in the agent prompt using the Current Data variable.
Since conversational agent responses include additional metadata, you can add a Data Process step after the Agent step to extract response data and reformat it. Refer to Agent step - Data process step to learn more.
Embedding agents in your applications
The Boomi Agentstudio EmbedKit allows you to embed agents you create in Agentstudio directly into your own applications. Get started with the GitHub repository and explore the Boomi Embedded documentation.
Next steps
- Remove any redundant steps in your process. The Agent step often simplifies workflows, making some steps unnecessary.
- Test your process. Refer to Agent step and Testing and troubleshooting an agent to learn more.
