Single sign-on
SSO integration with MFT AFT is a three-part process:
- Customer is provided with the information needed to set up the application in their identity provider (IdP).
- Once the customer has registered the application/s in the identity provider, certain parameters are provided to MFT to configure our side of the integration.
- We schedule a meeting to test your SSO application/s.
For each instance, create an application with your SSO Identity provider (IdP).
There are three steps to create your SSO application:
- Create your SSO SAML Application within your identity provider (IdP).
- Send us your SSO information once the application is completed so we may update your SSO information in our system.
- Meet to test the SSO SAML links
Each instance will need its own application.
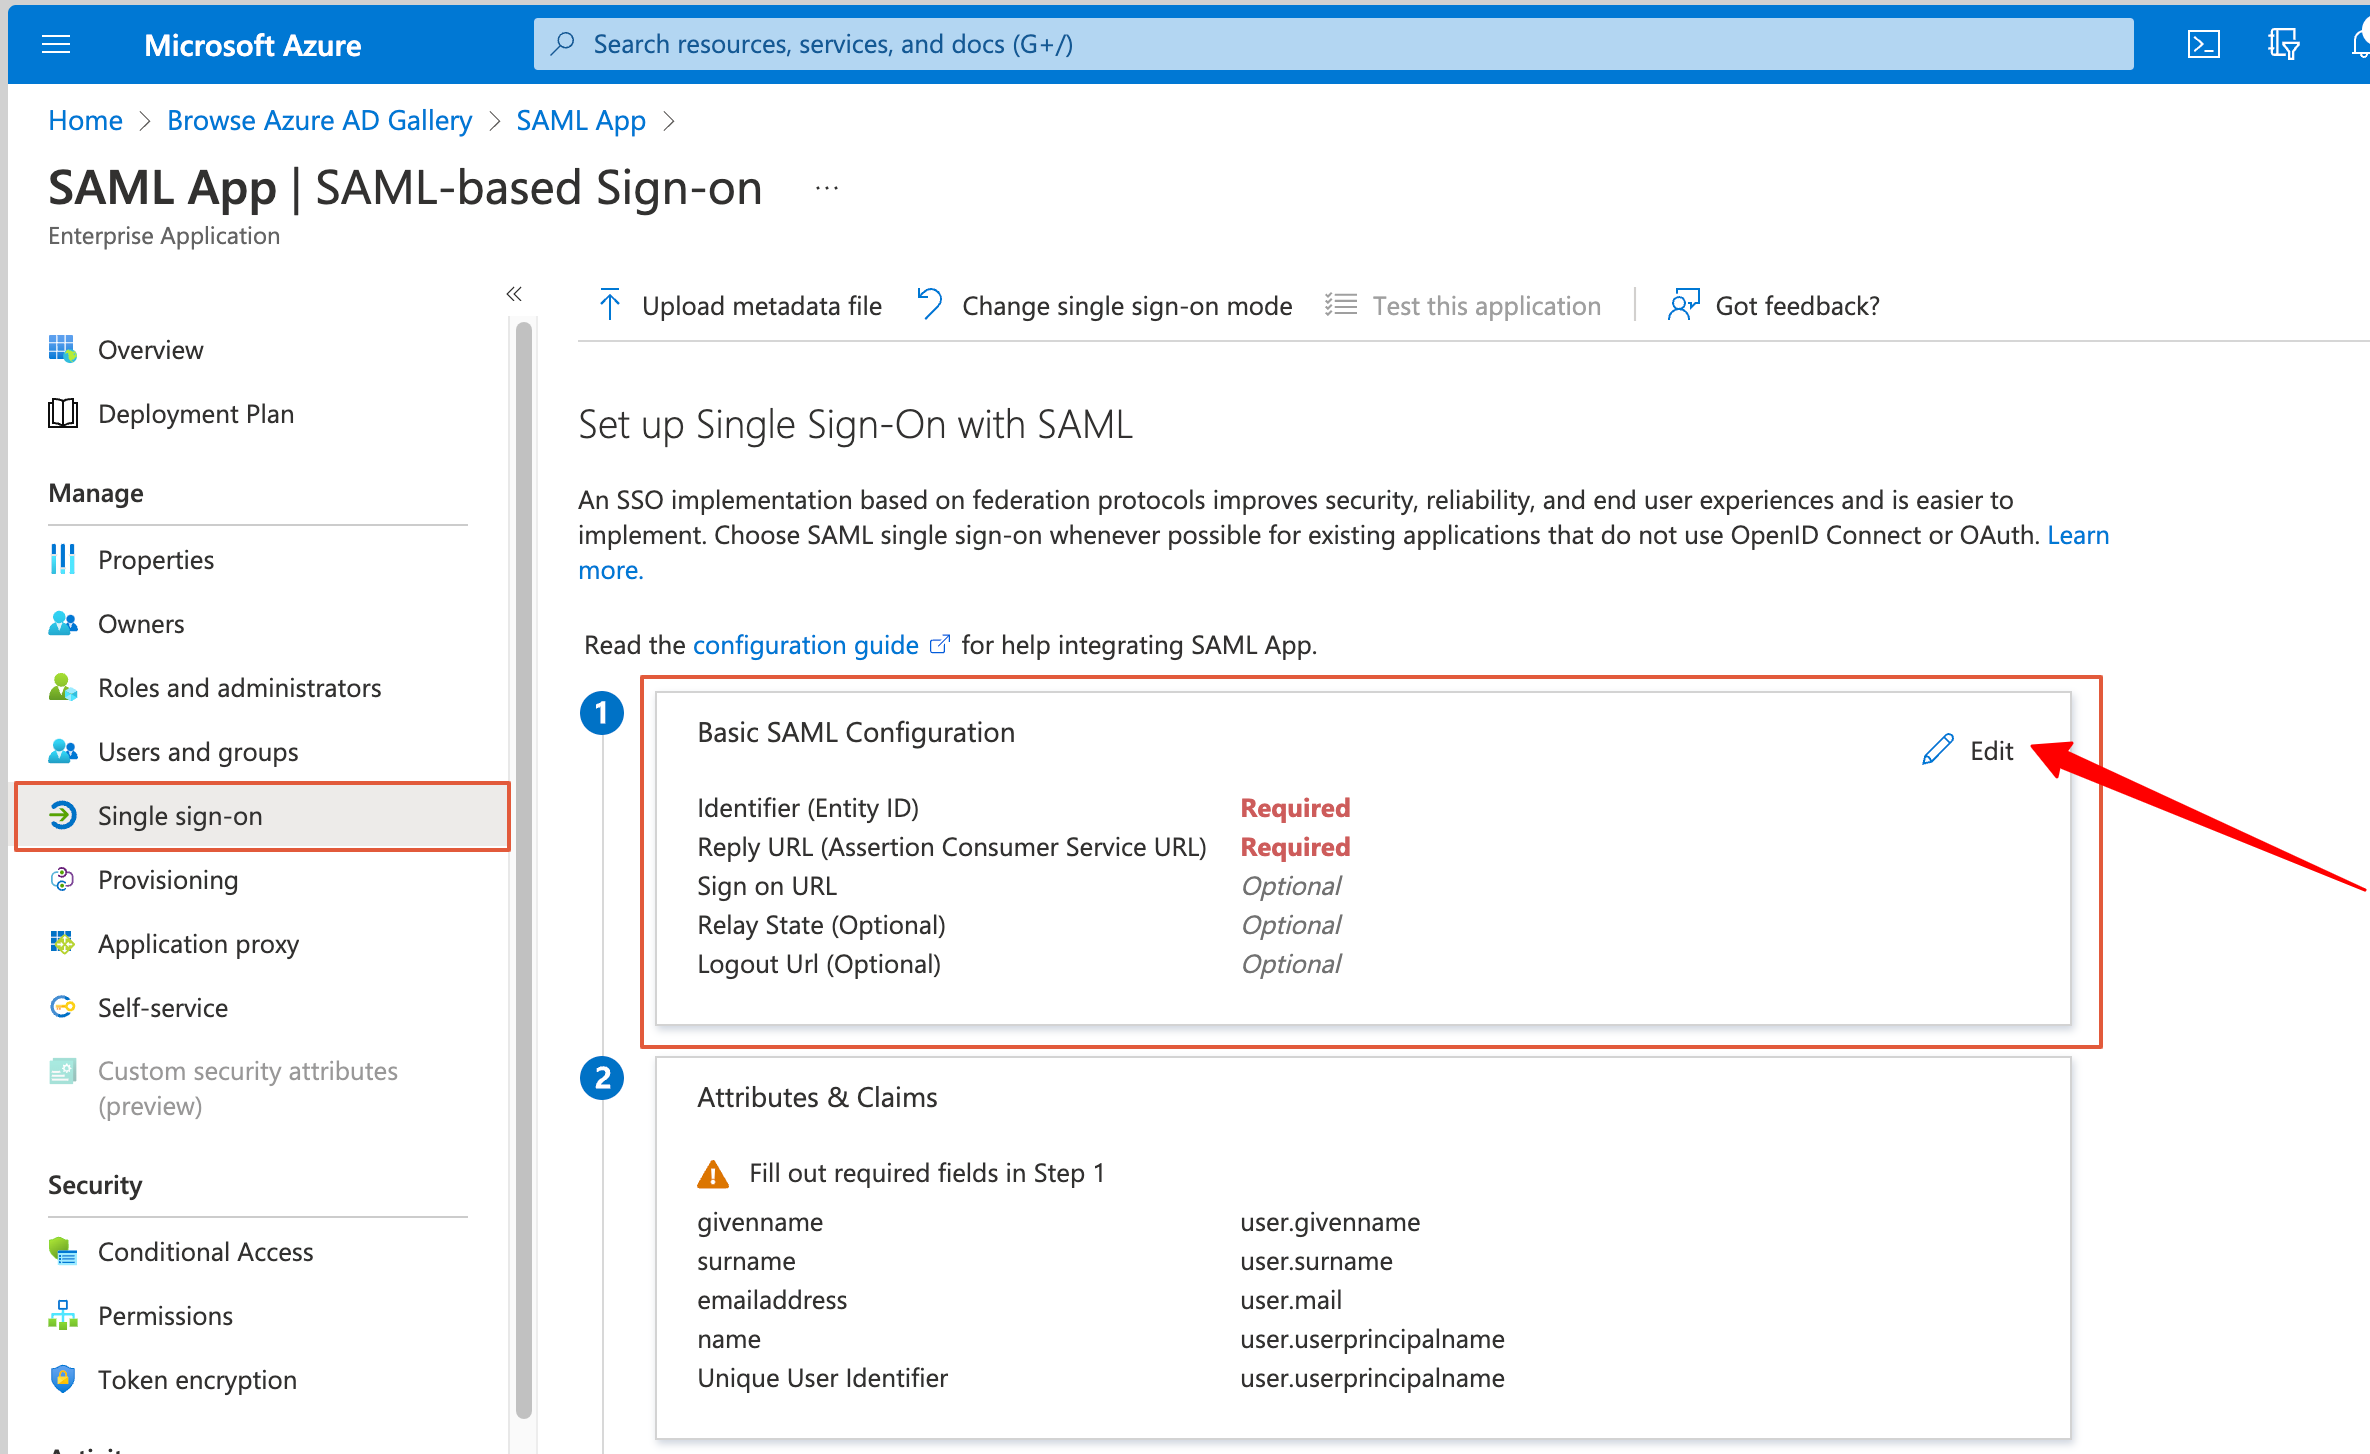
Step 1 - Setting up your SSO SAML applications
In this step, we provide all of the information you require to successfully create your SAML application with your identity provider (IdP).
-
Log in to your identity provider (IdP) - Azure AD.
-
Create a new SAML Application.
-
Use the following information to complete the application setup:
You will need Service Single Sign On URL and Entity ID for your Prod application:
Prod Instance:
https://us.thruinc.com/api/saml/AssertionConsumerService?code=”Customer Code”Entity ID:
ThruUS-”Customer ID”-”Customer Code”for Production
The Service Single Sign On URL provided is specific to the US instance. If your organization uses a different regional MFT instance (such as EU, APAC, or other global locations), you will need to modify the base URL accordingly. For example, an EU instance might use https://eu.thruinc.com/... instead of the US URL.
To obtain the correct Customer Code and Customer ID for your specific instance, you must contact MFT Support. They will provide you with the unique identifiers required to configure your Single Sign On (SSO) settings accurately. Ensure you have these specific details before proceeding with your SSO implementation.
Make sure to select “Use this to be Recipient URL and Destination URL”.
Required Claims
| Field | Description |
|---|---|
| username | Unique identity provider user ID used as username (UserID claim) |
| emailaddress | Users email address |
| givenname | First name |
| surname | Last name |
| phone | (Optional) User’s Phone Number |
Most identity providers exhibit similar characteristics.
Example: The Azure AD SAML settings used during application creation.
When setting up the Transformation, use your customer code. For example:
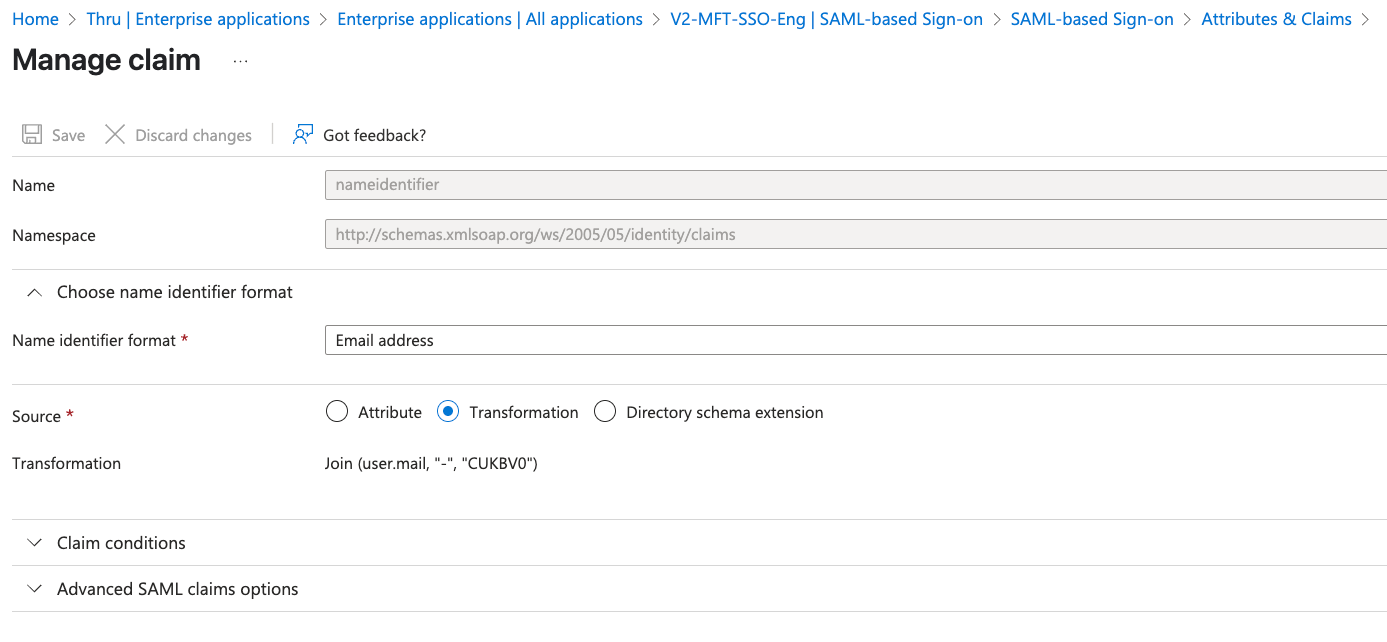
Use your instance system code for the transformation.
After you set up the transformation, your customer code gets appended to the username when logging in via SSO.
Step 2 - Collecting SSO information from your identity provider
In the 2nd step, we need the following information from your identity provider:
- Name - Identity Provider URI
- Single Sign On Service URL
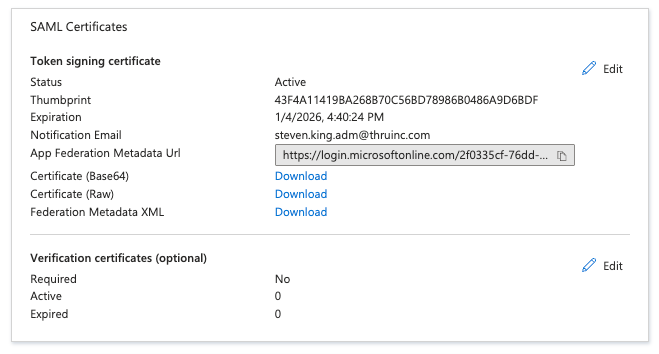
- Certificate in *.Cer file format
Once we receive the required information, our MFT DevOps Team will update our MFT Servers, completing the SSO setup process.
Step 3 - Testing SSO application links
The MFT Customer Success Team will follow up with you to schedule a meeting. In this meeting, we will test the SSO application links and verify that users can authenticate and that new users get created successfully.
