MCP Server (Tech Preview) configuration
Setting up the server configuration
Create your runtime's server configuration by using the following procedure:
- In the General section of the Start shape configuration pane, click the Plus icon on the Connection drop-down list.
- On the Connection configuration screen, enter your Server Configuration.
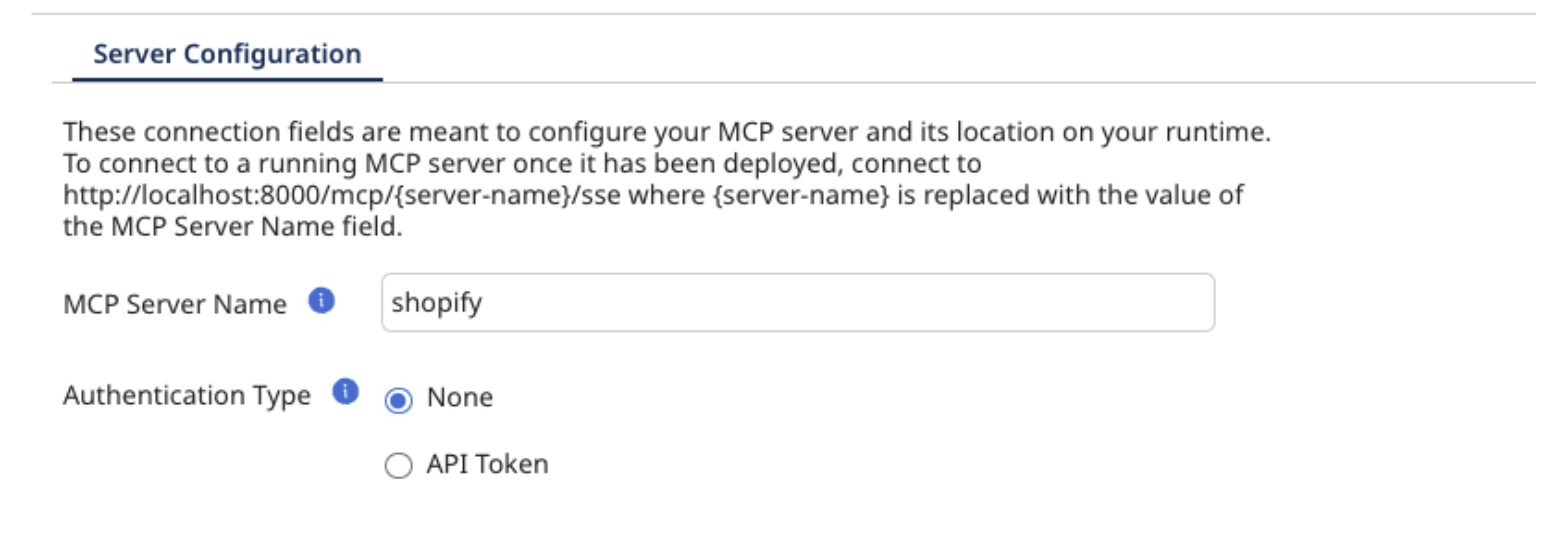
MCP Server Name: The name of the MCP Server. This field also determines the URL to connect to for the MCP Server (for example, if your Server Name is shopify-mcp, the URL to connect to the local server will be http://localhost:8000/mcp/shopify-mcp/sse). This field will be automatically URL encoded to avoid incompatible characters.
Here is a series of Pro-tips to keep your MCP Server names clean:
-
Use descriptive, meaningful names. Include the environment and purpose in the name (for example,
MCP_Production_OrderProcessingorMCP_Dev_CustomerSync) so users can immediately identify the server's function and environment. -
Follow a consistent naming convention. Establish and stick to a standard format across all MCP servers, such as
[Environment]_[Application]_[Function]. This makes servers easier to find and manage at scale. -
Avoid special characters and spaces. Stick to alphanumeric characters, underscores, and hyphens. This prevents potential integration issues and ensures compatibility across different systems and APIs.
-
Keep it concise but clear. While being descriptive, avoid overly long names that become difficult to read or might hit character limits. Aim for 20-30 characters maximum.
-
Versioning when relevant. If you might have multiple versions or instances, include a version number or date stamp (for example,
MCP_Invoice_v2orMCP_Payroll_2024) to distinguish between different implementations.
Authentication Type: The authentication method that clients are required to use in order to authenticate with your MCP server. The default is None.
- If you want to use API tokens, select API Token authentication type. You will see the API Tokens section.
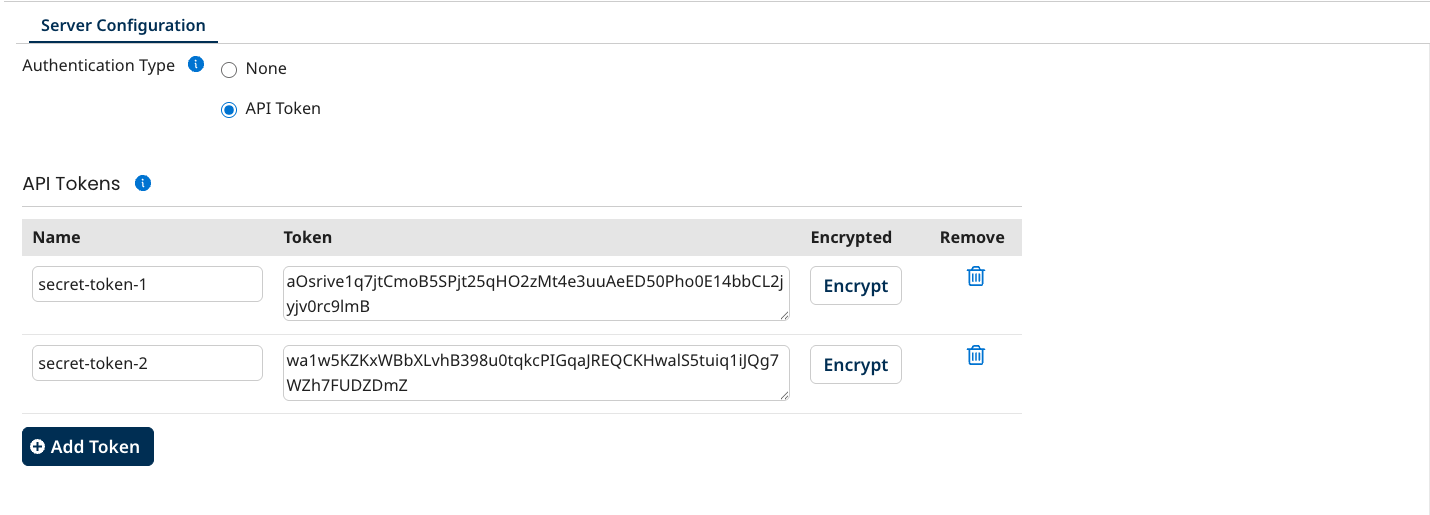
API tokens that allow access to your MCP Server. Clients can authenticate using either Authorization: Bearer <token> or X-API-Key: <token> headers.
- To set up your tokens:
- Name: Identifier of the token (this should be a meaningful name and it is just for easy identification and less than 100 characters).
- Token: Enter only the token value.
Authentication headers are handled automatically.
- To encrypt your tokens, click the Encrypt button.
Pro-tip: Keep your readable token in a secure place. Once encrypted, it cannot be unencrypted. If you no longer need an API token, use the trash can icon to delete it.
- Define prompts that will help from an agent's point of view on where to start.
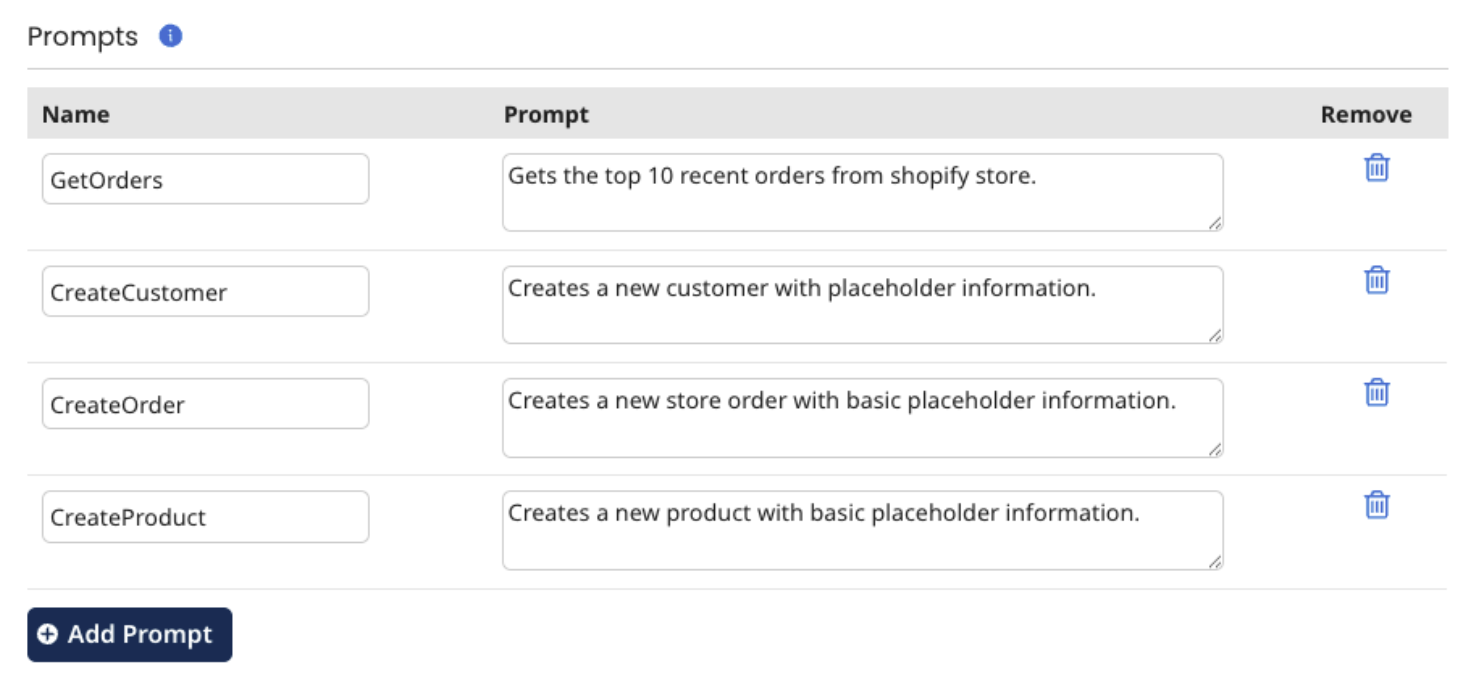
Pro-tip: Prompts can be useful conversation starters for your MCP clients, make sure to write intentional prompts so that your MCP client knows exactly which tool can be used for the intended purpose. Your prompt name should be less than 100 characters and its value should be less than 1024 characters.
- Click Save & Close to save your new configuration.
