Importing and exporting translations
The Export tool allows you to export Flow for translation from your current tenant so that it can be imported into another tenant. The Import tool allows you to import completed Flow translation template into your current tenant.
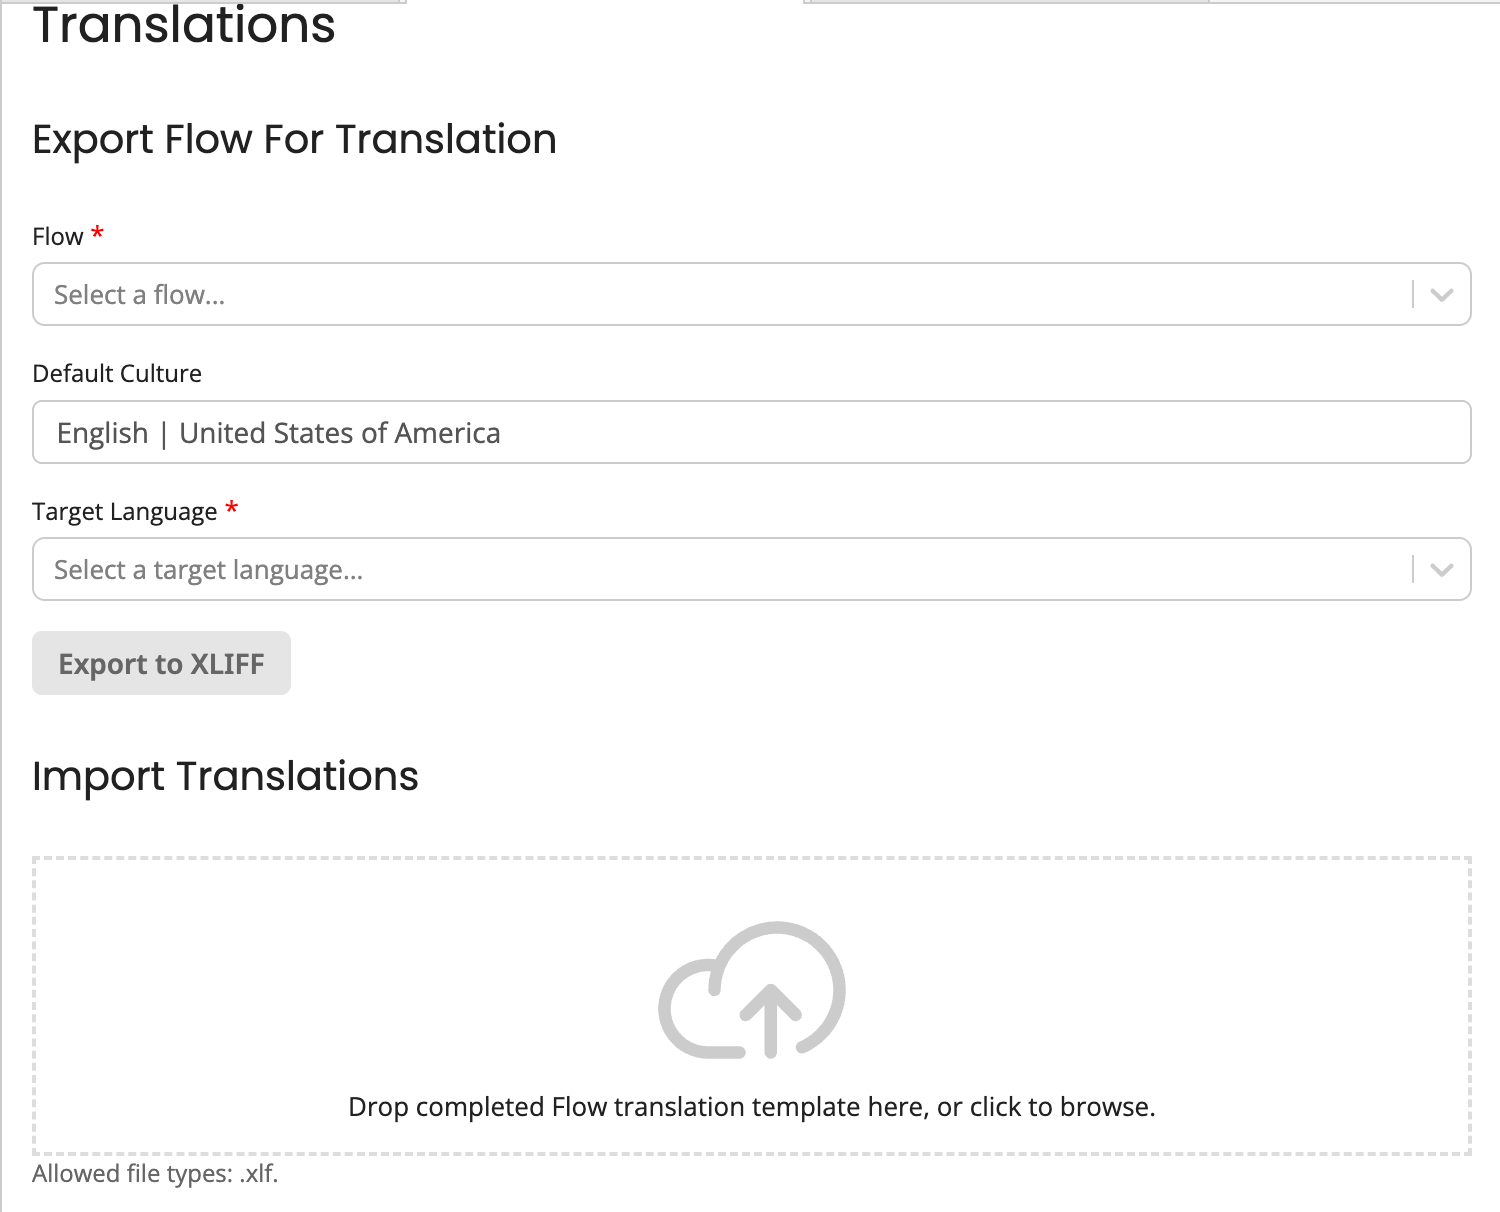
Export Flow for translation
To export Flow for translation:
-
Select Translations from the main menu.
-
On the Export Flow For Translation section of the page, select the Flow to be exported for translation from the drop-down menu.
-
Select the Target Language from the drop-down menu.
-
After you select the Flow and the translation language, download the file in XLIFF (XML Localization Interchange File Format) format.
The system extracts all the translatable text (labels, buttons, error messages) into an .xlf file. The translator opens the .xlf file in a translation tool (CAT tool). They view the source language and type the translation into a designated target slot.
Import translations
Use this option to plug the translated text back into the software.
To import a translation:
-
On the Import Translations section, either:
- Drag and drop the .xlf file onto the Import Translations field.
- Click the Import Translations field, browse to the file and click Open.
-
The Confirm Import dialog is displayed informing you of which tenant you are importing the translations into.
- Click Confirm to import the file into the tenant.
- Click Cancel to stop the import process and return to the Import Translations page.
