Installing the Boomi for SAP Add-on
Standard Install for Boomi for SAP Add-on
-
Upload the installation file. The required installation file depends on your SAP Version and SAP Development, Test, and Production system. Reach out to your Boomi account representative to get the correct installation file.
-
Login to your SAP system in client 000.
-
The installation file(s) should be in the folder
*/EPS/in/. You can find the path with al11. -
First, upload the PAT file(s) into your SAP system using transaction CG3Z.
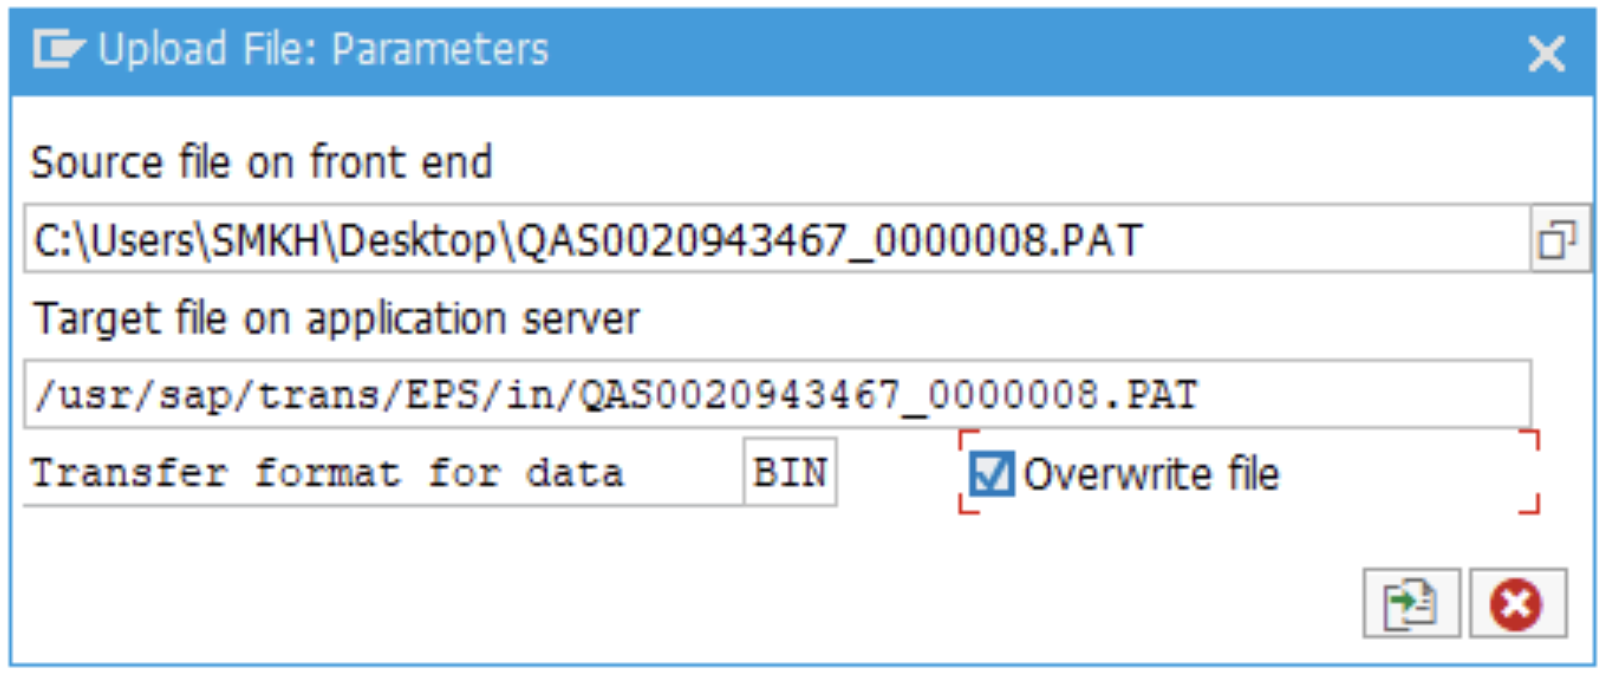
- Select Upload.
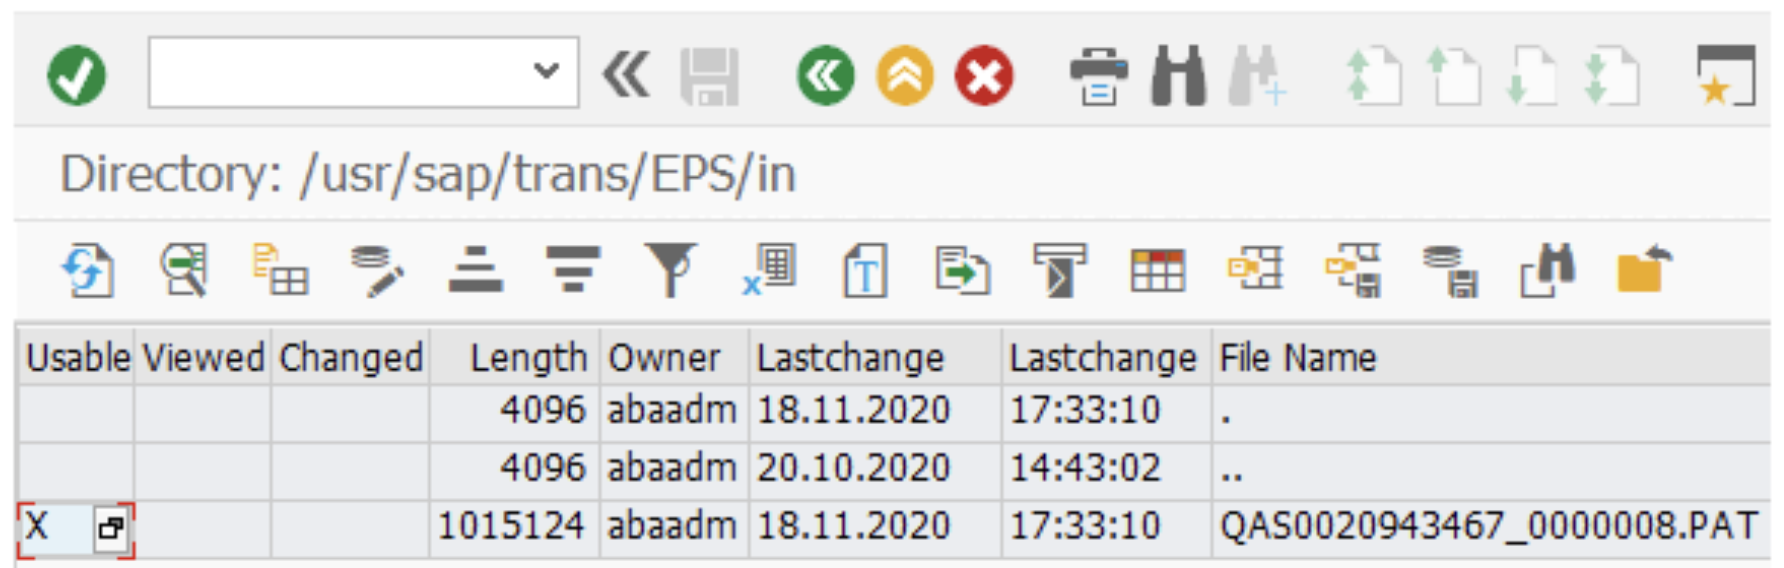
You can view the uploaded file uploaded via al11.
SAINT install for the Boomi for SAP Add-on
- Go to SAINT. On the Installation Package tab, select Load packages then EPS files from the application server to import the Add-On installation file(s).
Each system in the system landscape Installation should use SAINT to install the Boomi for SAP Add-On. The SICF configured in the Sandbox and/or Development environment is carried over the rest of the systems in the landscape.

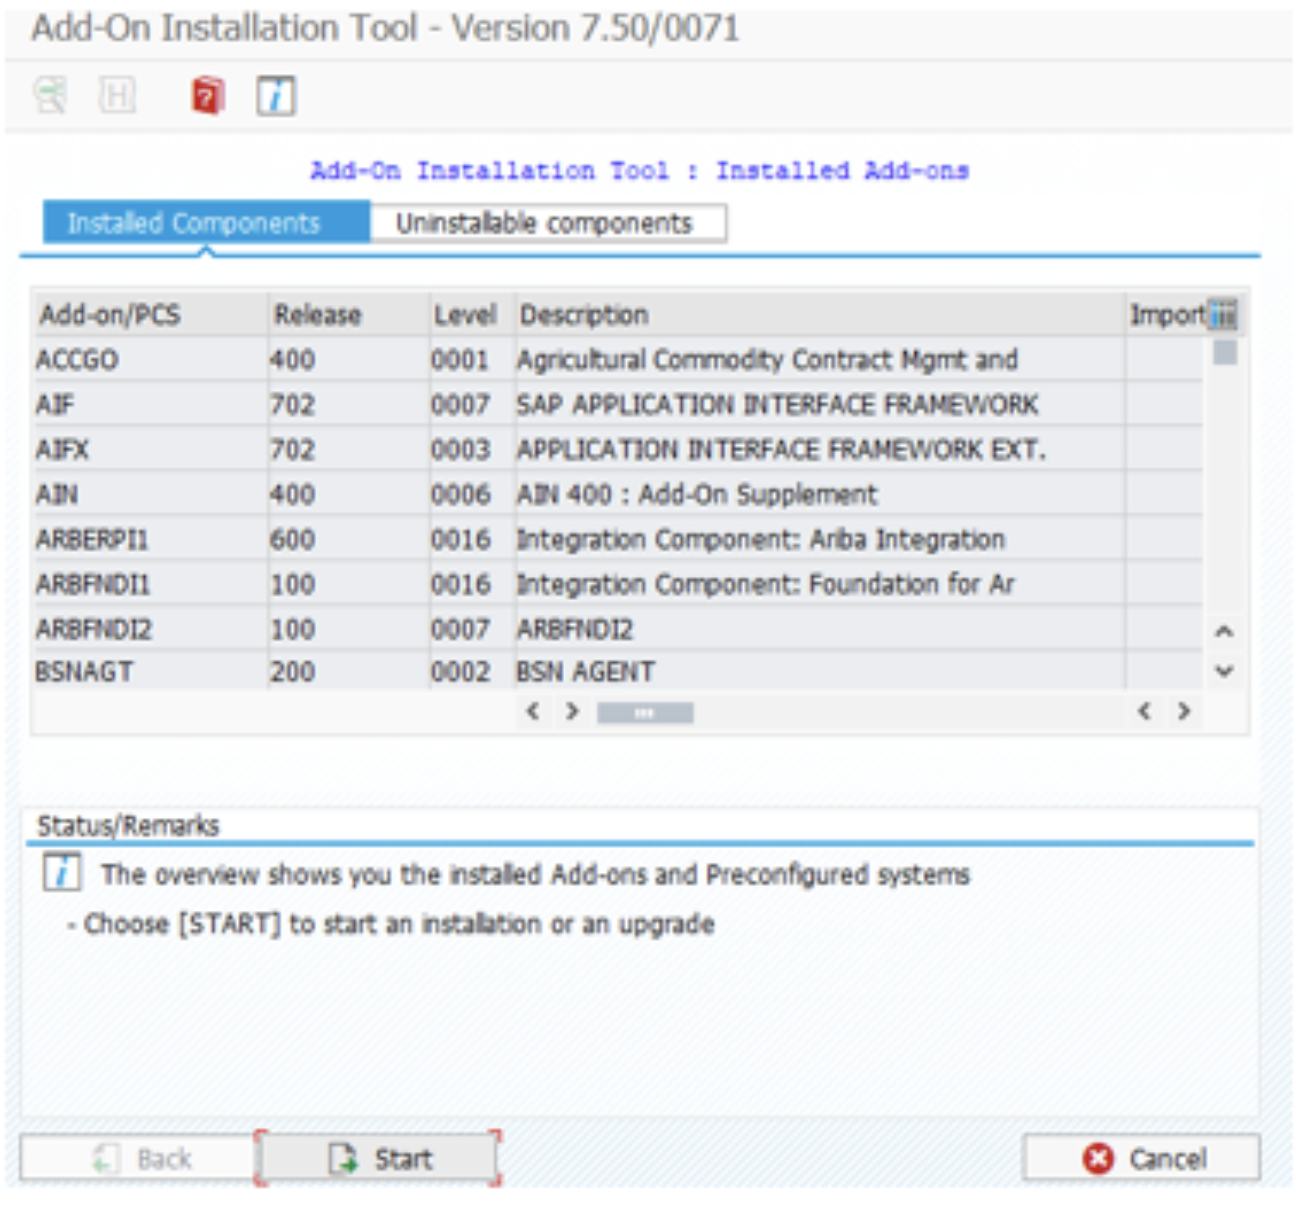
- Select Start.
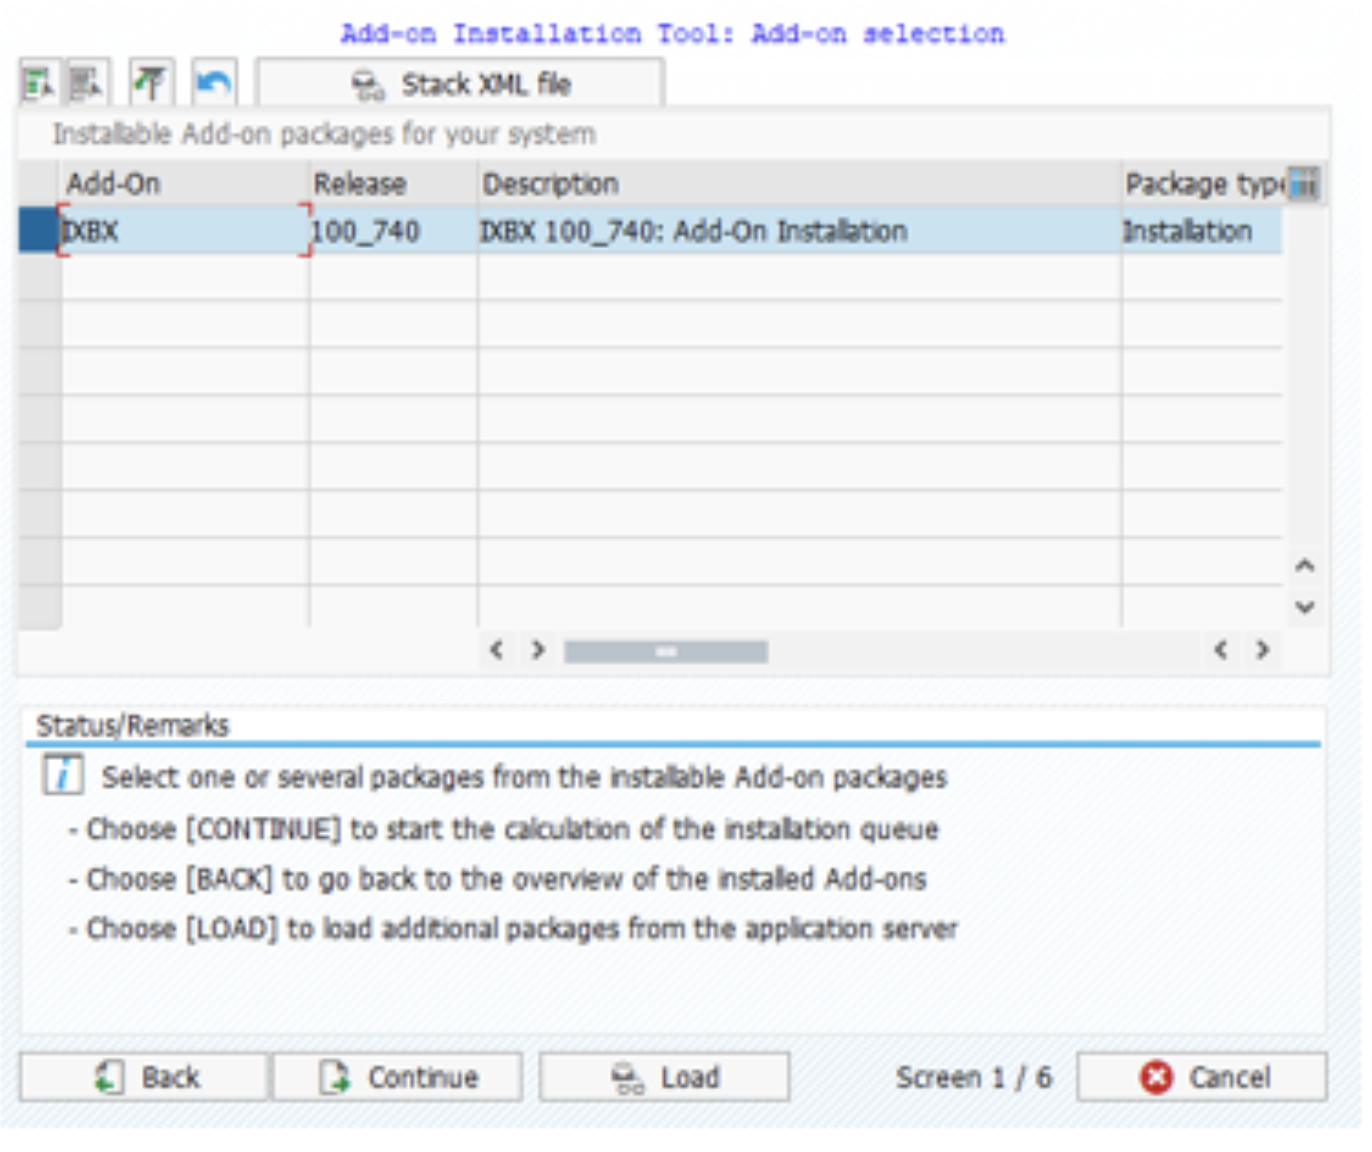
- Select IXBX in the Add-On list and press Continue.
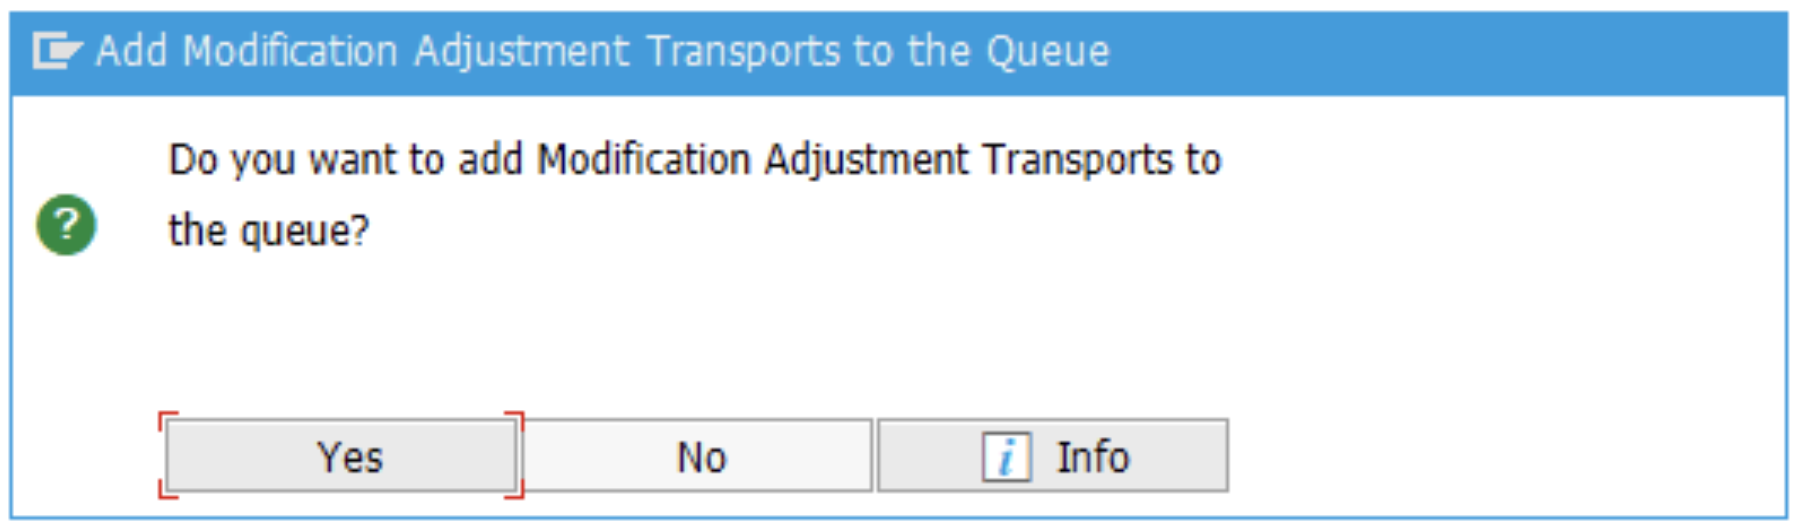
- In the pop-up, add modifications or adjustments to the transport queue if desired.
- Click Yes to continue.
- Click No to reject the additions.
- Installation begins. Select Finish to complete the process.
SICF Install
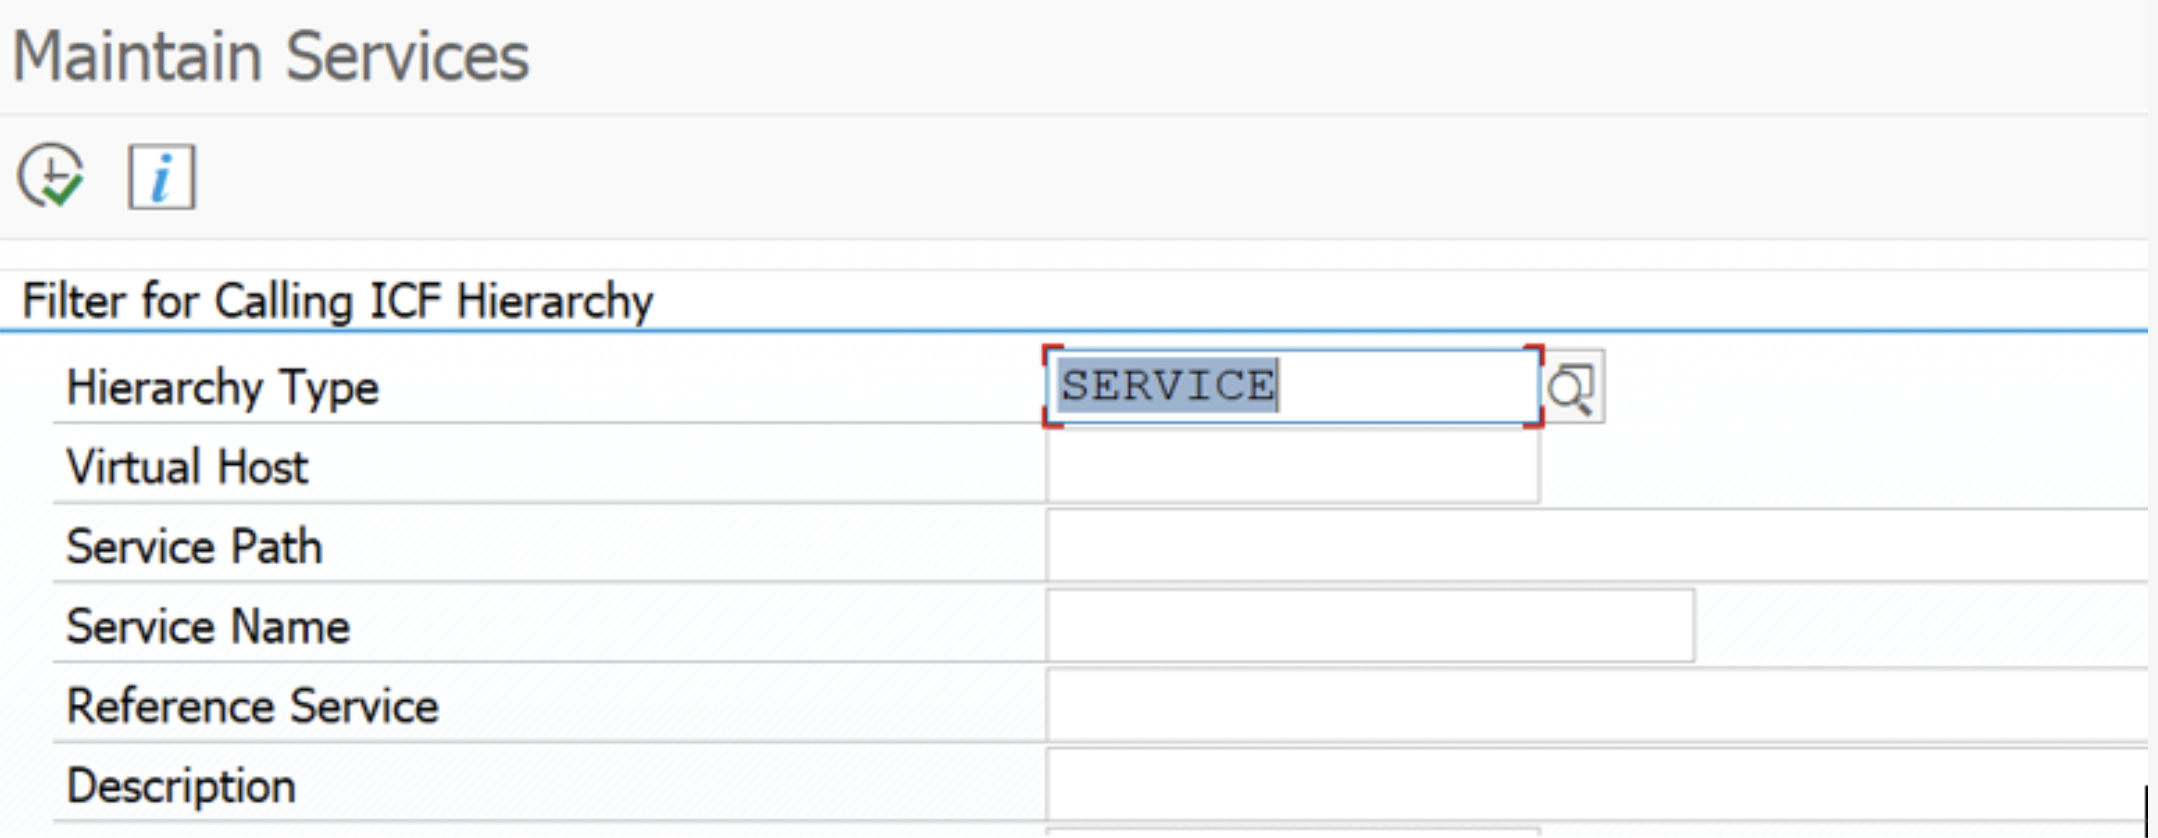
- Run transaction SICF. Press F8 to execute the transaction.
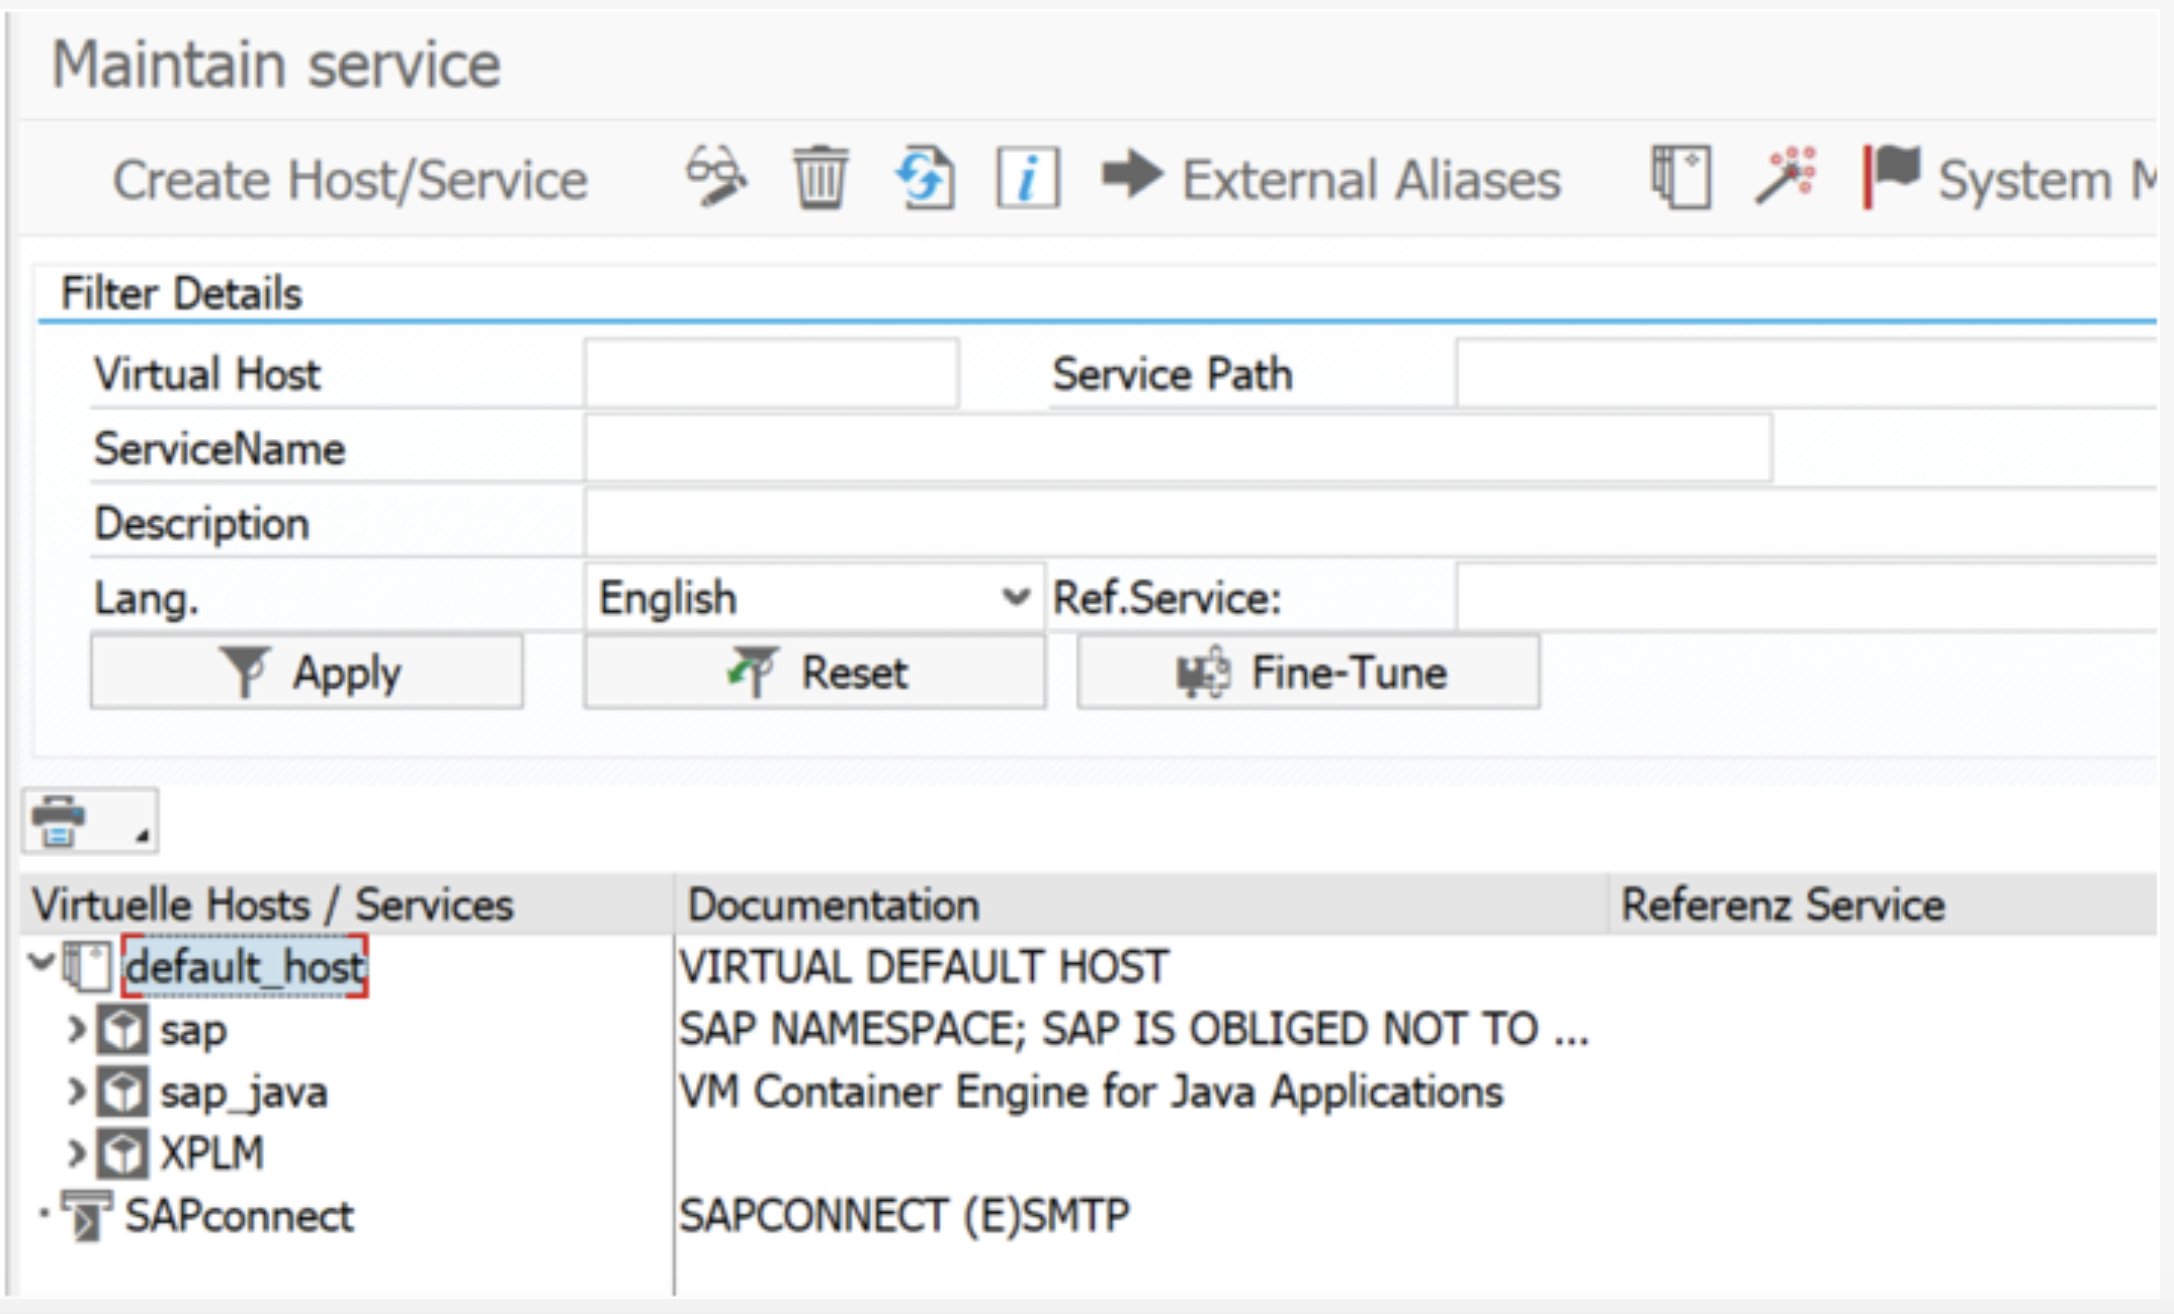
- Click Default Host, then Create Host/Service.
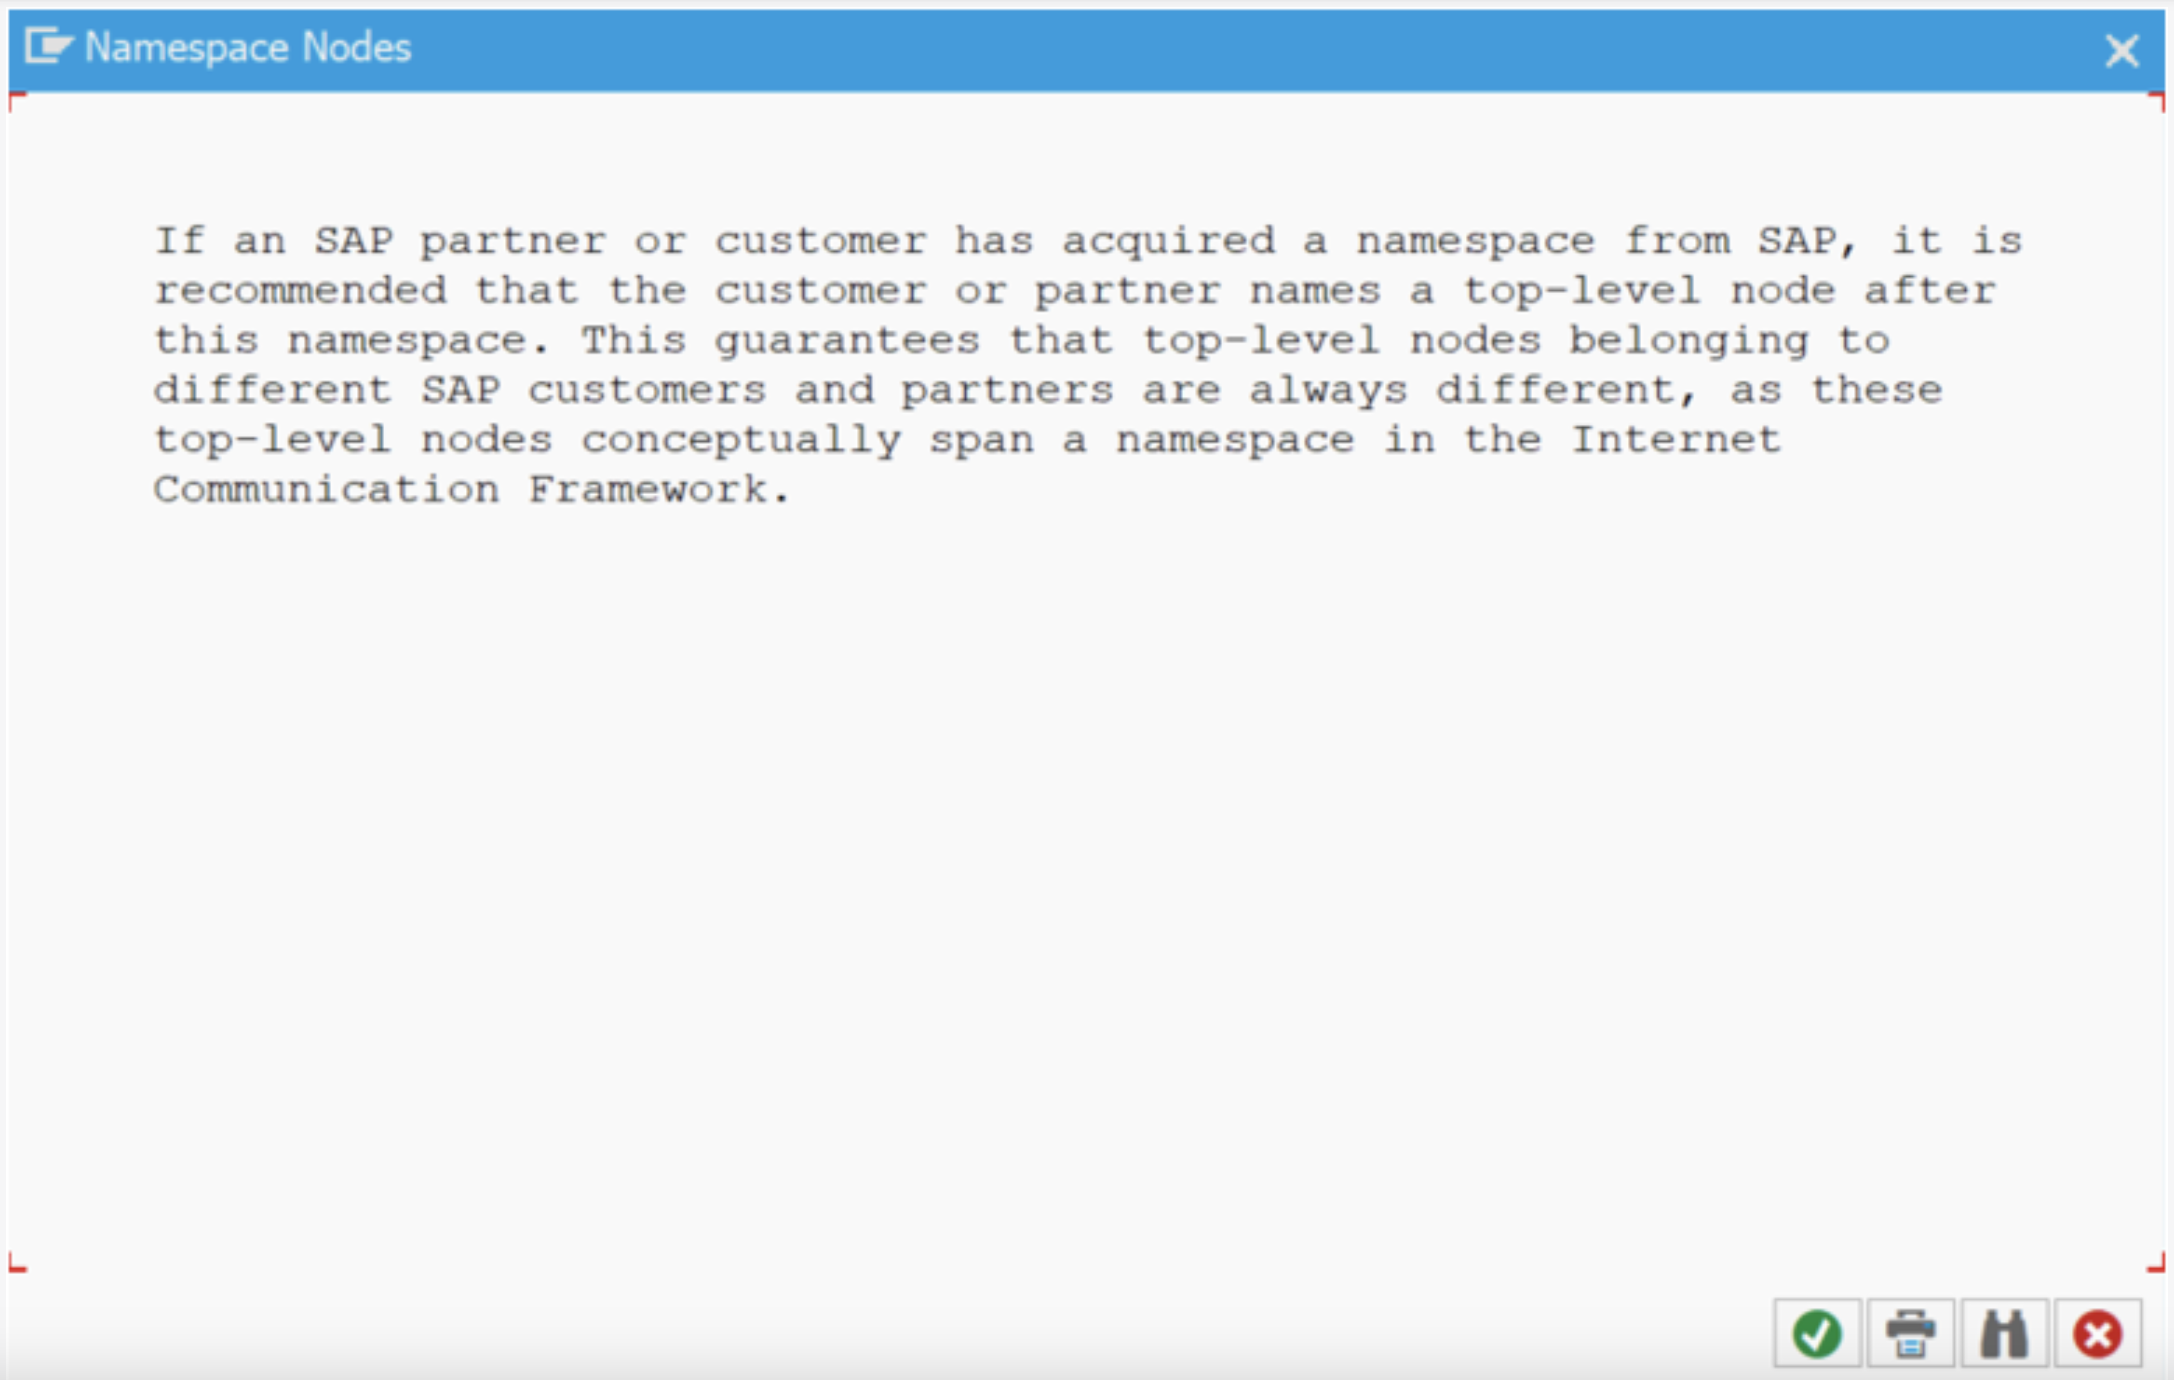
- Press ENTER to continue.
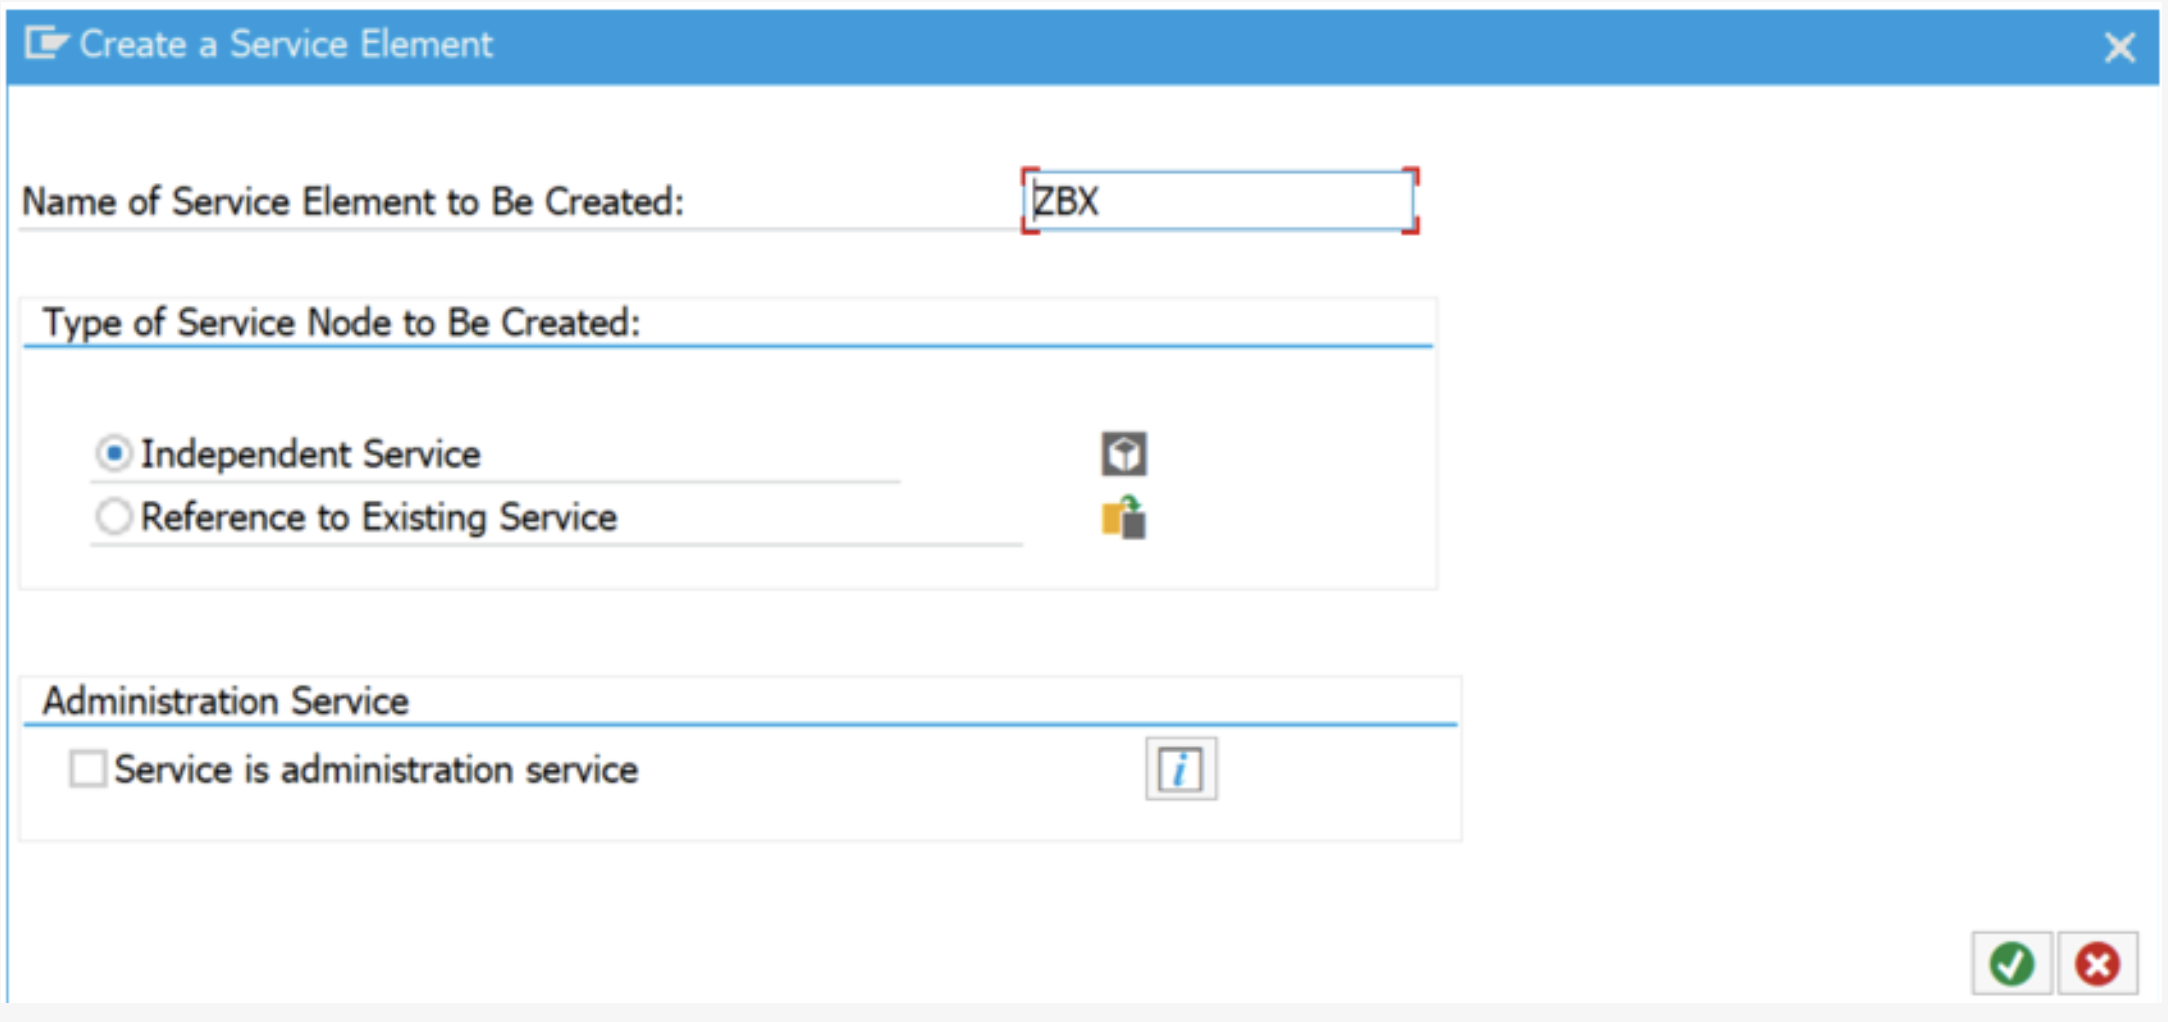
- Enter ZBX as the service name. Choose Independent Service. Press ENTER to input the service name.
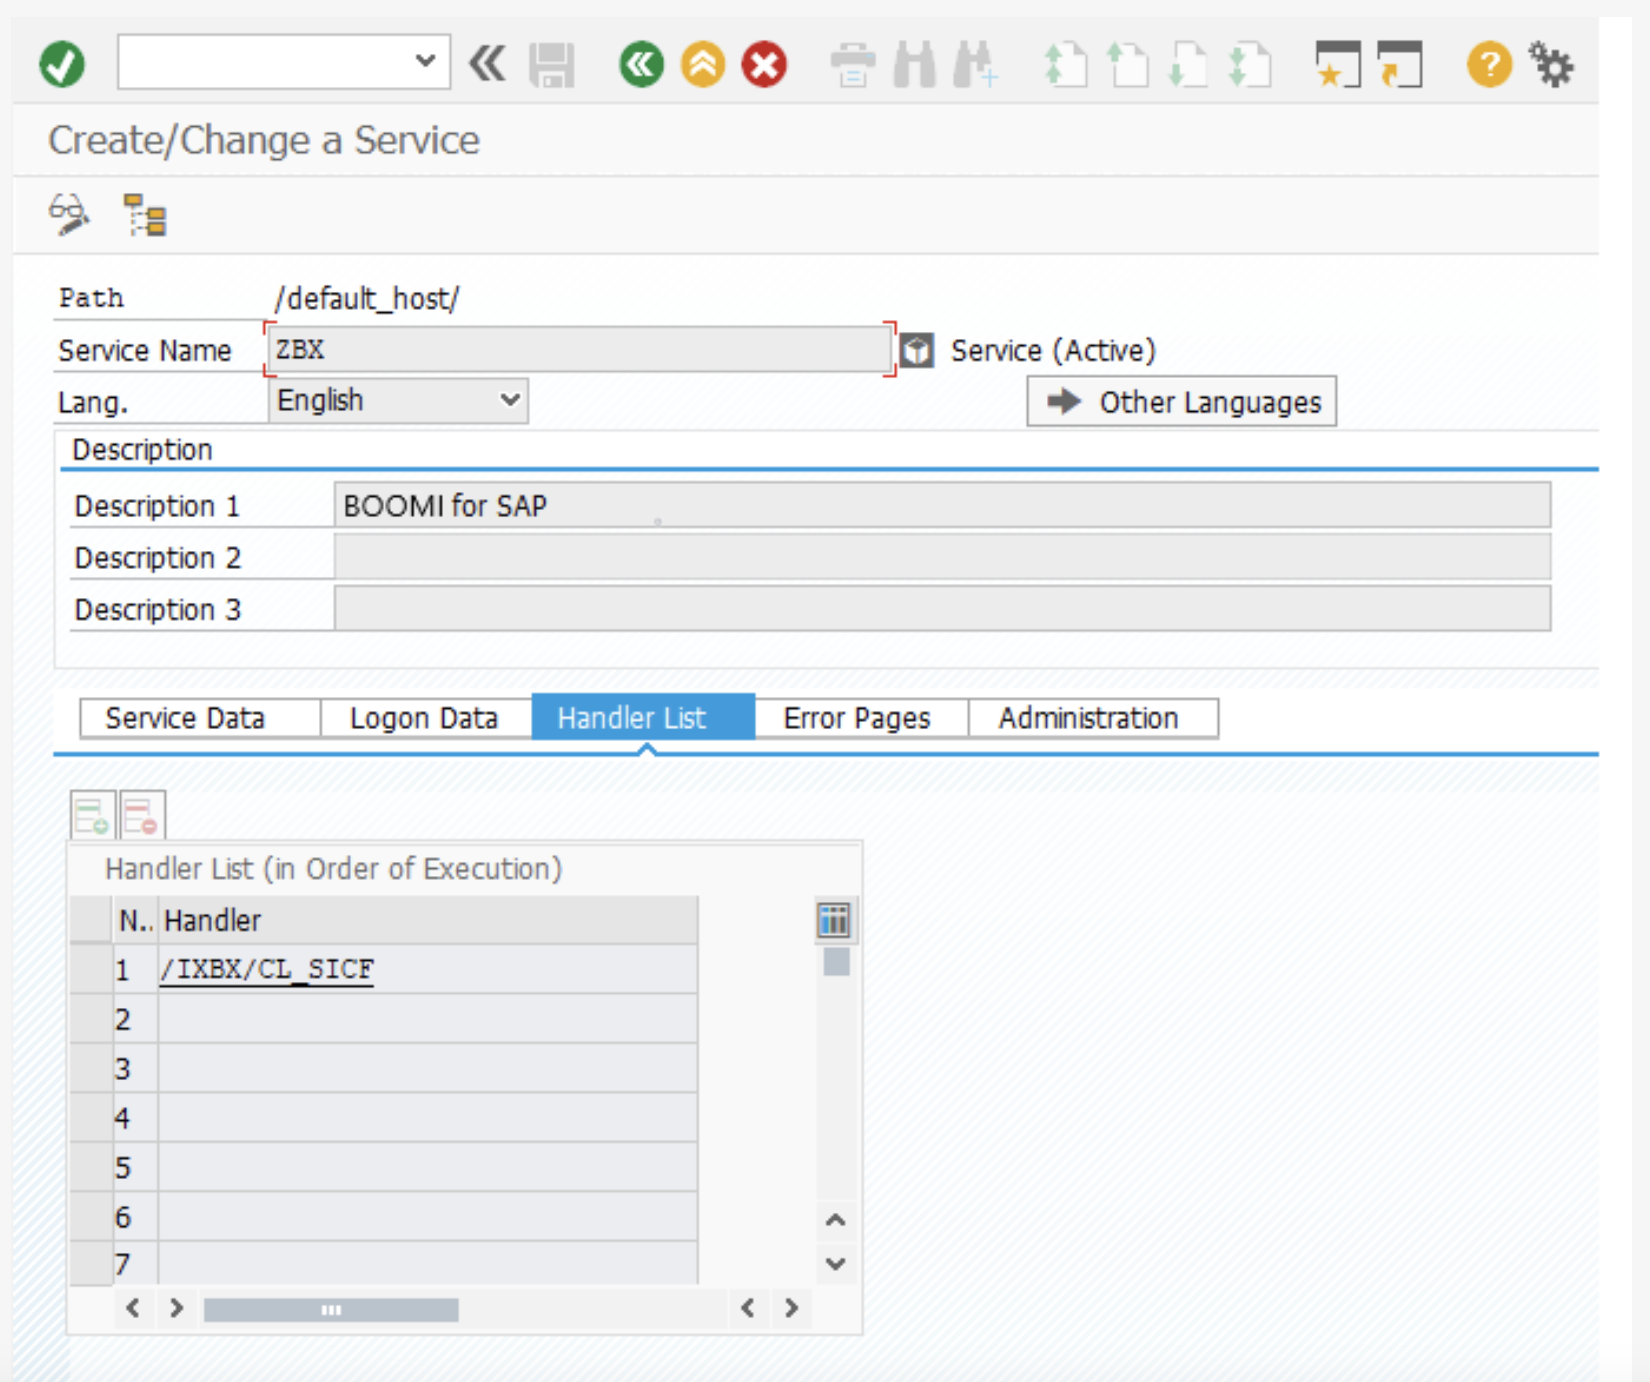
- Enter Boomi for SAP as Description 1. Enter handler class /IXBX/CL_SICF in the Handler List tab.
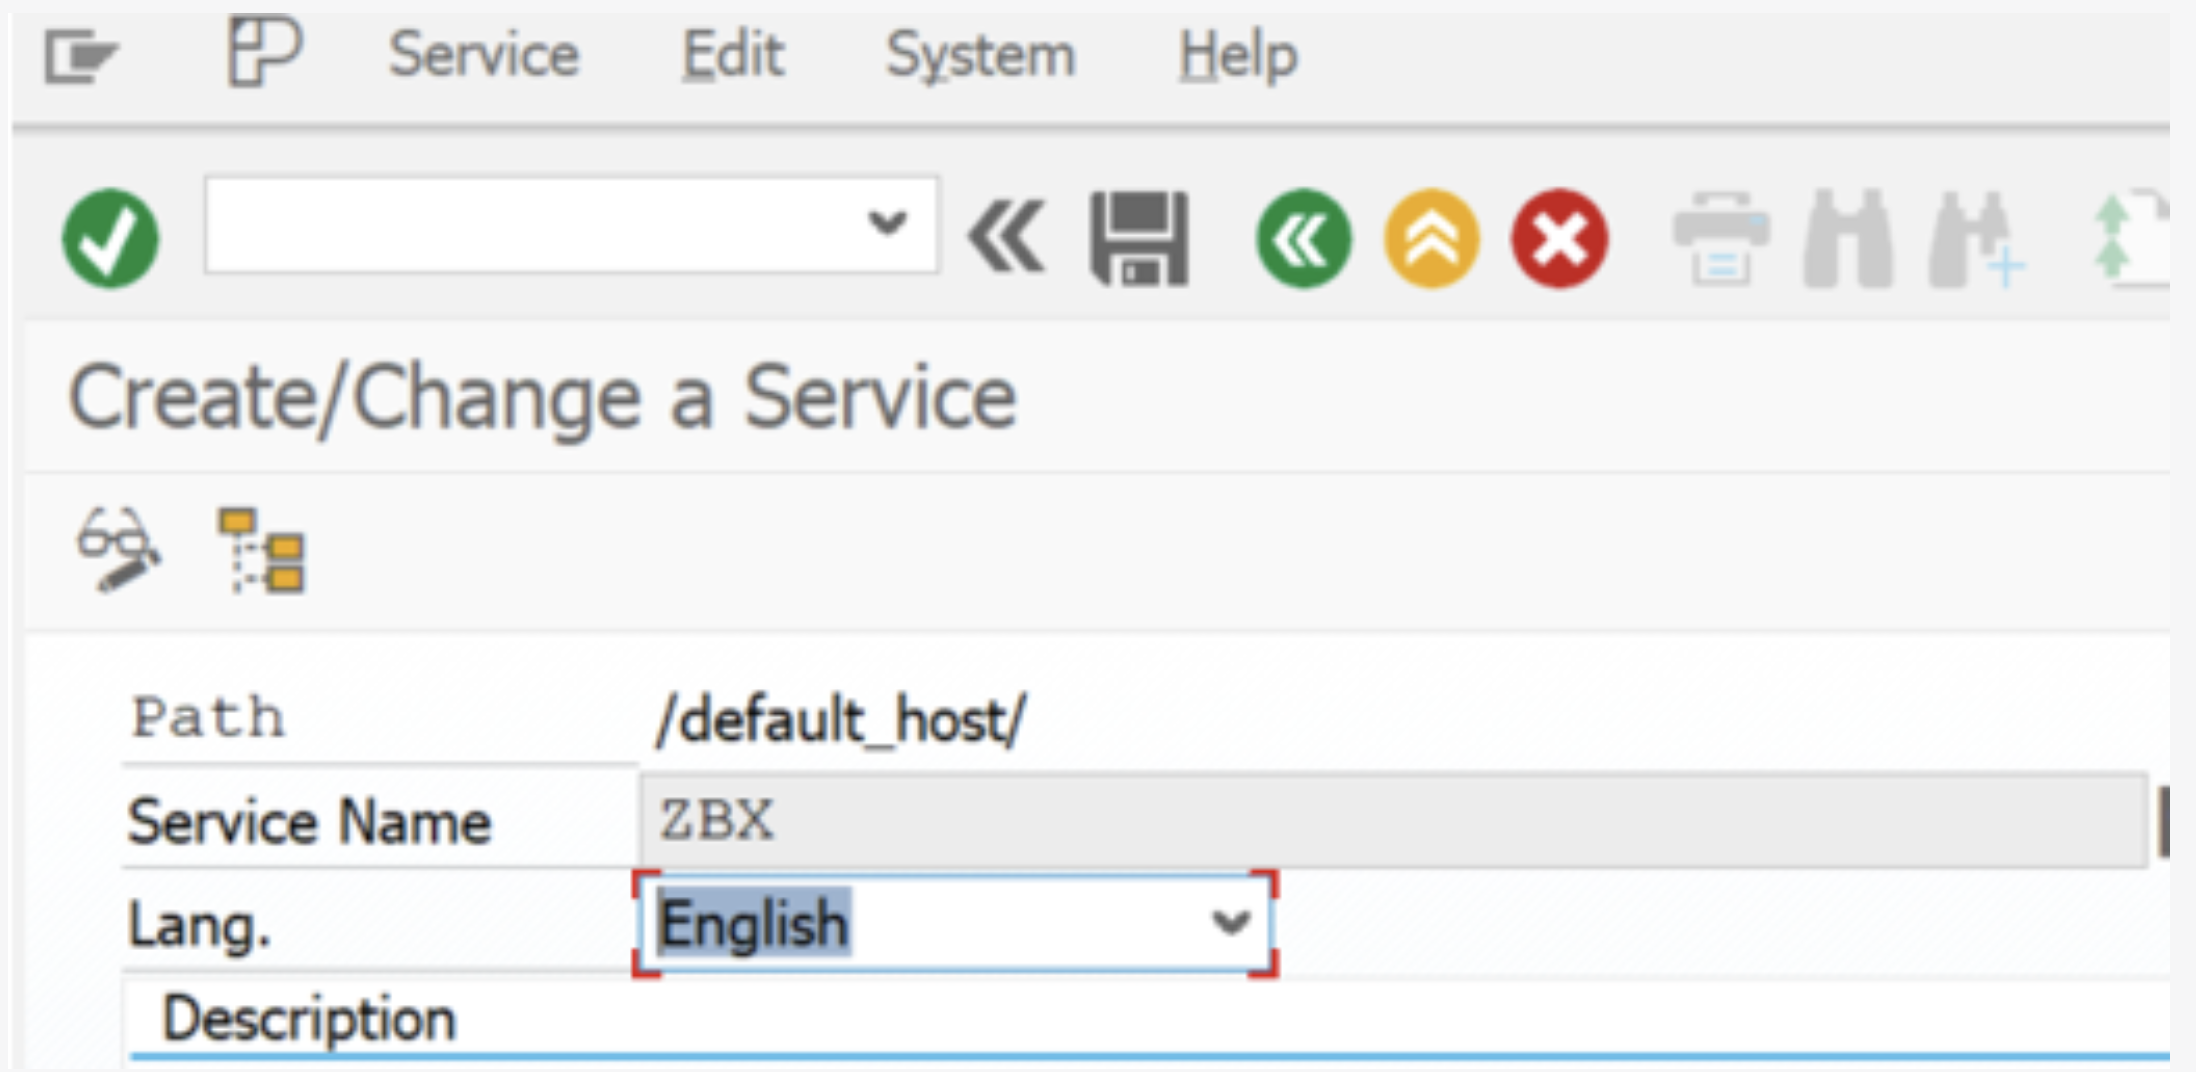
- Update data for service and login data if needed, depending on customer requirements. Press CTRL+S to save. Press F3 to leave the main menu (package and transport according to customer requirements).
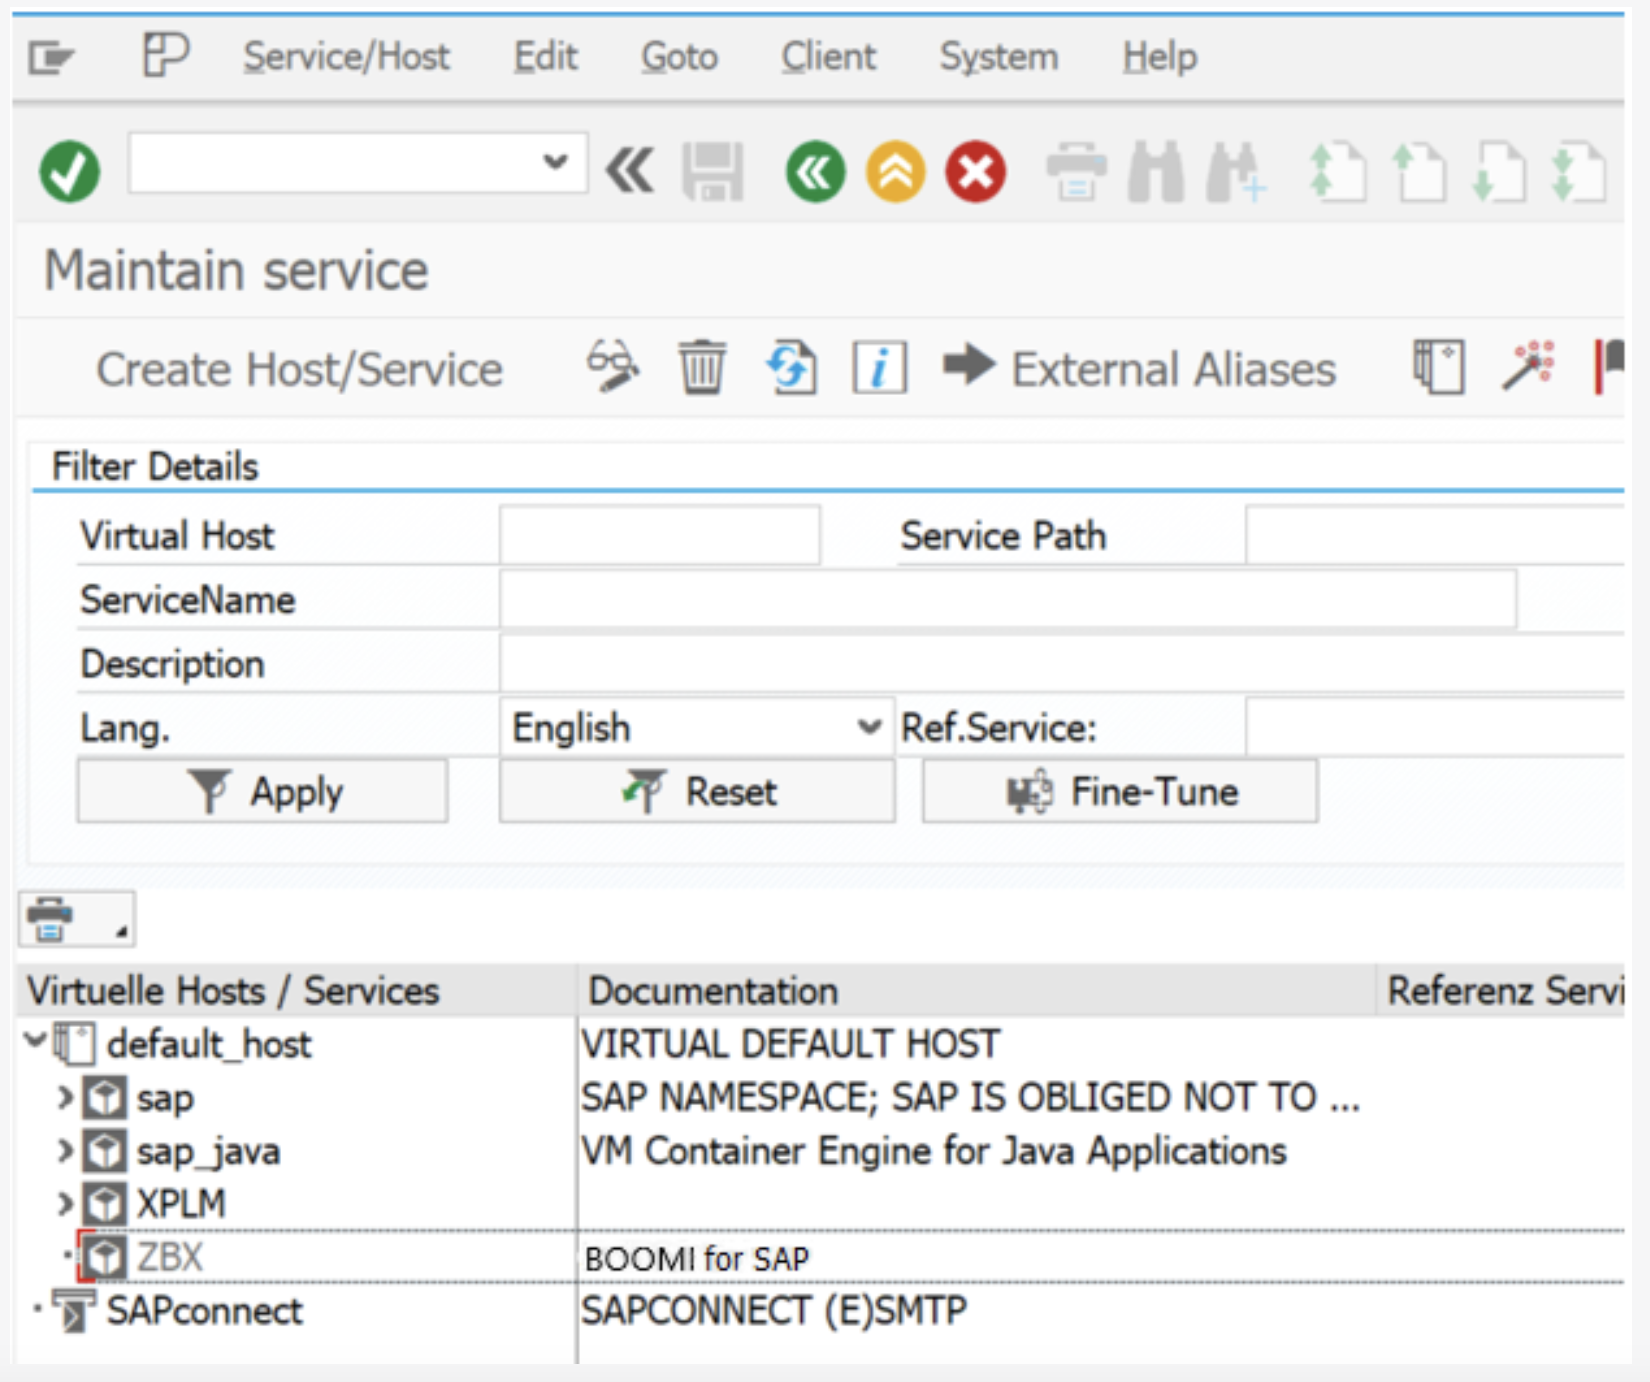
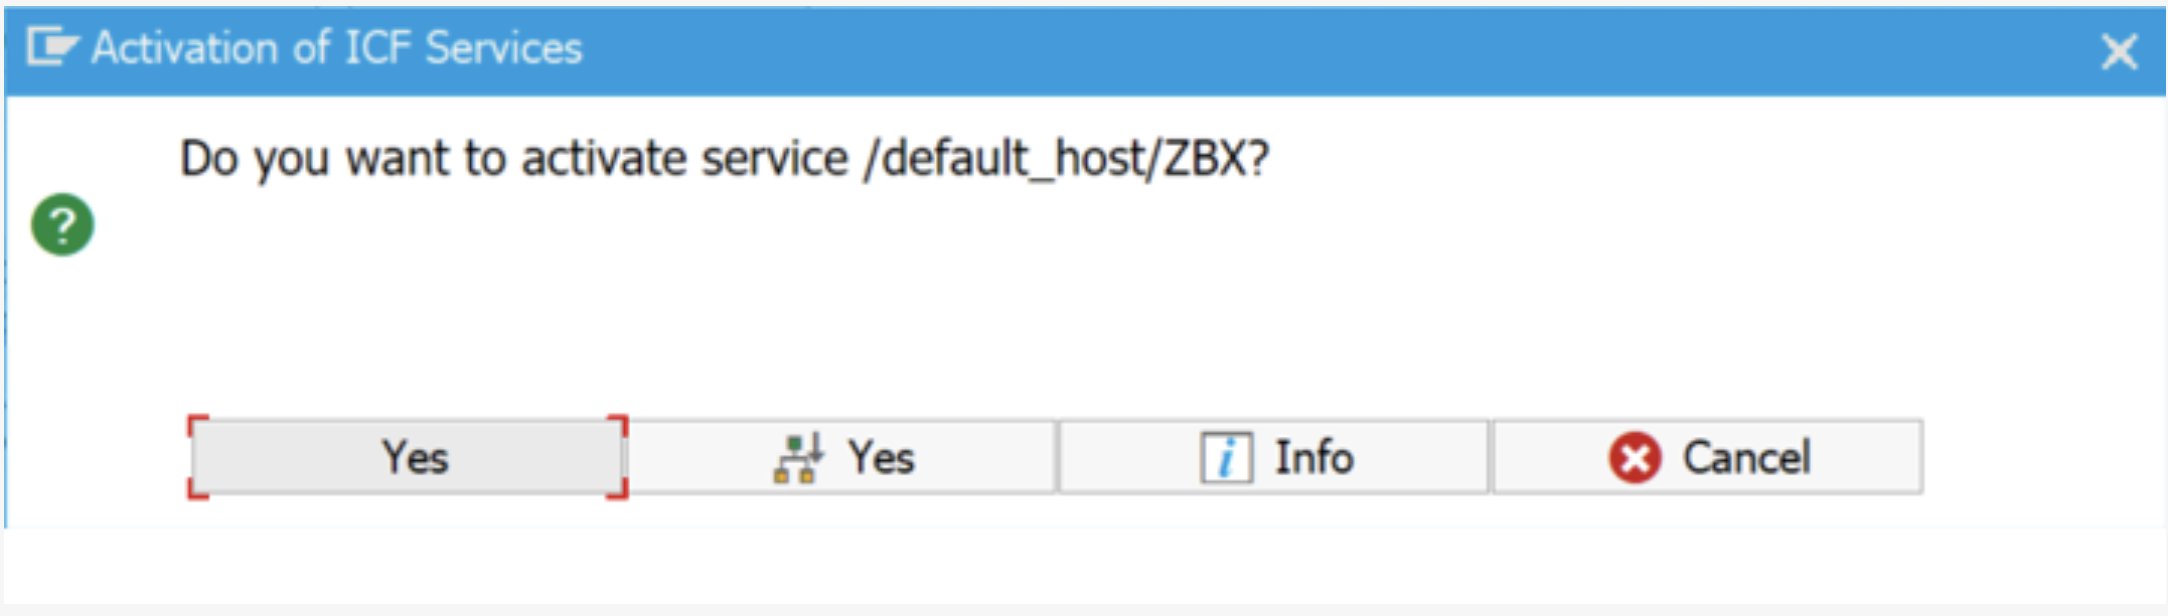
- To activate the service, select it by clicking it and pressing SHIFT+F11.
- Click Yes.
Upgrading the Boomi for SAP Add-On
Follow the steps above to install any upgrades based on your initial installation method.
After finalizing the installation, you must set up zbx in SICF and the BW Extractor to utilize the BW Extractor feature.
We recommend creating roles and assigning them to the relevant users.
