How to Connect to MuleSoft
On this page you will learn how to connect your MuleSoft Gateway to Boomi's API Control Plane. Any API managed by MuleSoft's Anypoint platform will be discovered by the Control Plane, including APIs deployed to Flex and Mule gateways.
Prerequisites
To proceed, you will need the following:
-
A running instance of Boomi's API Control Plane.
-
Access to the instance of your MuleSoft Gateway.
-
Docker to utilize the image of our agent, which acts as an intermediary.
noteKnown limitation: You can only query metrics for the past 30 days for MuleSoft APIs.
Add Gateway Information
To get started, open your API Control Plane instance and follow the instructions below.
-
Navigate to Environments.
-
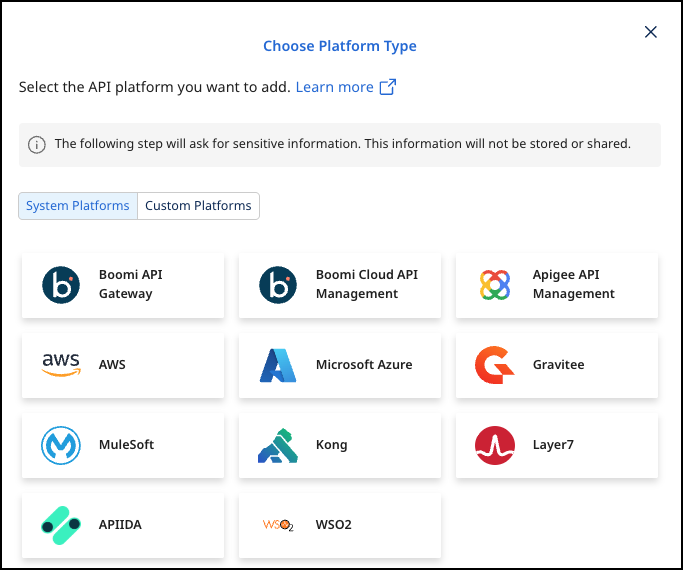
Select the Register Gateway button.
-
Select Mulesoft.
- Add the following to set up the connection to MuleSoft:
- Gateway Name - The display name for your gateway.
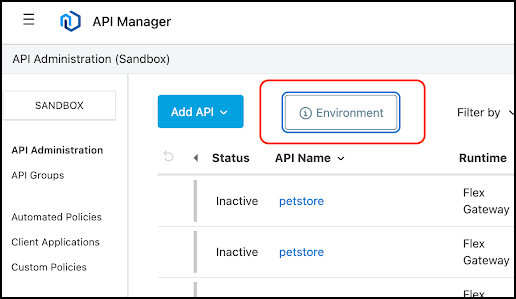
- Environment Id: In the MuleSoft Anypoint Platform, in API Manager, click the Environment button.
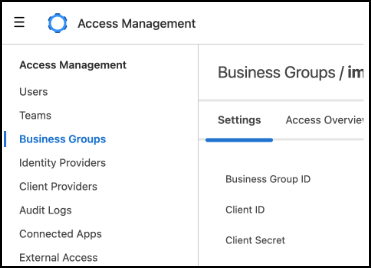
- The following are located in the MuleSoft Anypoint platform, in Access Management > Business Groups:
- Business Group ID
- Client Id
- Client Secret
noteTo create the Client Id and Client Secret, you must create an application in Access Management > Connected Apps. Select App acts on its own behalf (client credentials) and then add scopes. Add scope Exchange Viewer in the Exchange category.
-
Select Next.
-
Add the following information:
- Technical Name - The technical name of an API must be unique.
- Display Name - The display name can differ from the technical name and does not have to be unique.
- URL - The url of your MuleSoft proxy (e.g.
http://my-mulesoft:8000). API URLs are built by appending the path of the first route of a service (e.g.http://my-mulesoft:8000/petstore).
-
Confirm by clicking on the Connect to Gateway button.
-
Select Next.
Create an Agent as an Intermediary
The following describes how to create a Docker container for the agent. It is described using a Docker compose file so that additional agents can be easily added to your Docker stack later.
-
Select Download and Next.
-
Docker Compose file options:
services:
controlplane-agent-mulesoft:
  image: apiida/controlplane-agent:<The docker image of the API Control Plane Agent>
  container_name: controlplane-agent-<agent name>
  environment:
    - backendUrl=<backend url>
    - agentToken=12:<token>
    - gateway.type=MULESOFT
    - gateway.clientId=<client ID>
    - gateway.clientSecret=<client secret>
    - gateway.businessGroupId=<business group ID>
    - gateway.environmentId=<environment ID>
- Run the specified command in the same directory as the downloaded file
- Select Done.
Check the Agent's Status
-
Open your API Control Plane instance.
-
Select Environments in the menu on the left side.
-
Your Agent should now be connected to API Control Plane.
- Click on the tile or the entry in the table to get more detailed information about the status of the connection. This can be very useful in case of an error.
You can now interact with your Gateways through Boomi's API Control Plane.
It is easy to add more agents Repeat the steps here or that of another gateway and add the agents to the existing Docker compose file.
Control Plane and MuleSoft Entity Naming
Use the table below for entity naming in each area.
| Control Plane | MuleSoft |
|---|---|
| API | The APIs found in API Manager (sometimes referred to as API instances) |
| API Product | n/a |
| Application | Client Application |
| Subscription | Contract |
| Plan | SLA Tier |
