How to connect to Gravitee
Connect your Gravitee Gateway to Boomi´s API Control Plane.
Prerequisites
To proceed, you will need the following:
-
A running instance of Boomi´s API Control Plane.
-
Access to a Gravitee API Gateway.
-
Docker to utilize the image of our agent, which acts as an intermediary.
To get started, open your API Control Plane instance and follow the instructions below.
-
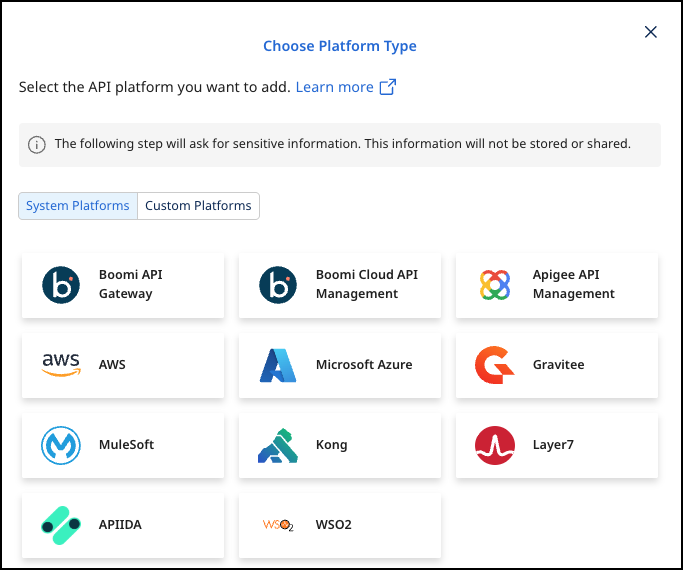
Navigate to Environments.
-
Select Register Gateway.
-
Select Gravitee.
Provide the Gateway Information
-
Add the following information:
-
Gateway Name - The display name for the gateway.
-
URL - Insert the URL to your Gravitee Management API
-
This is not the URL of your Gravitee Management UI.
-
To test if this is the correct URL, try calling
<Url>/management/organizations/DEFAULT/consoleand check that you get a valid response and no errors.
-
-
user/password: Credentials of a user of your Gravitee instance with access rights to the Management API
- Refer to Gravitee User Management to learn how to manage users in Gravitee.
-
-
Select Next.
-
Add the Technical Name, Display Name, and URL.
-
Select Connect to Gateway.
Create an Agent as Intermediary
The following describes how to create a Docker container for the agent. It is described using a Docker compose file so that additional agents can be easily added to your docker stack later.
-
image:The docker image of the API Control Plane Agent -
container_name:You can freely choose the name of your Agent here -
environment-
backendUrl:The agent will establish a web-socket to this URL and thereby connect to your API Control Plane. -
gateway-config:The path inside the container to the configuration
-
-
volumes- The outer path of the configuration file : The inner path of the configuration file
-
Click on Download and Next to download your agent docker compose.
Check the Agent's Status
- In API Control Plane, select Environments.
- Your Agent is connected to API Control Plane
- Select the tile or the entry in the table to get more detailed information about the status of the connection. This can be very useful in case of an error.
You can now interact with your Gateways through Boomi´s API Control Plane.
It is easy to add more agents Repeat this guide or that of another gateway and simply add the agents to the existing Docker compose file.
Q&A
How do I now my URL for Gravitee Management API is correct?
-
Calling
<URL>/management/organizations/DEFAULT/consolewill return a valid response. -
Note that the URL for Gravitee Management API is not the same as the URL for Gravitee Management UI, which you may be using to access gravitee in your browser - though the difference may be in port only.
How do I manage users in Gravitee?
Refer to this Gravitee link to learn how to manage users of your Gravitee instance: User Management
